Toy Story Pumpkin Painting DIY
Toy Story Pumpkin Painting DIY Craft for Halloween
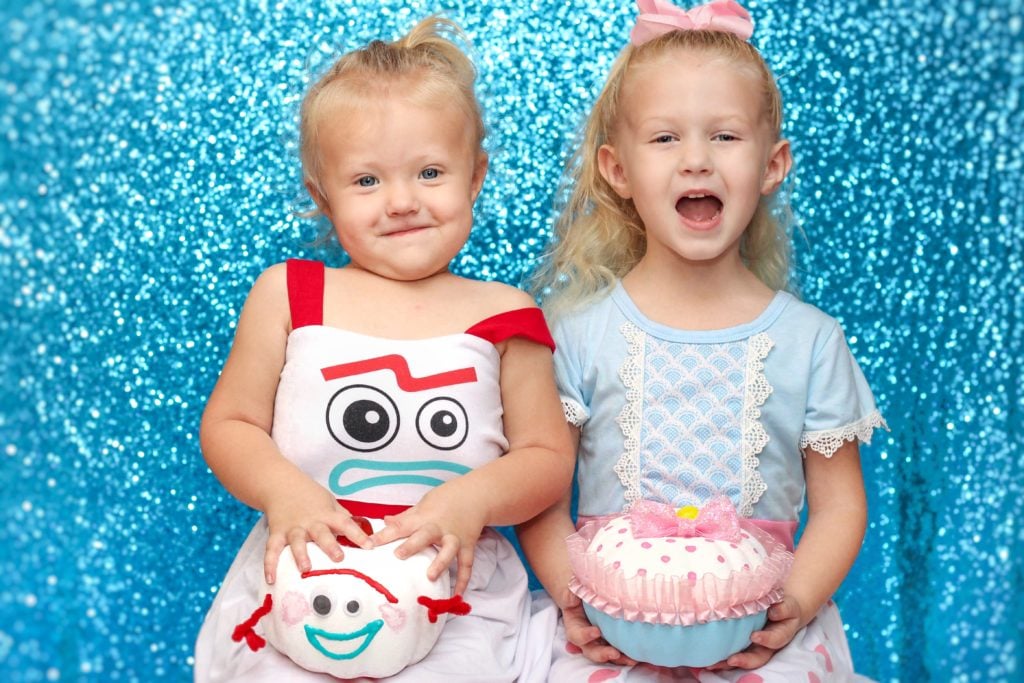
Halloween is such a fun time of year and with Toy Story 4 just coming out on DVD earlier this month, it’s been on constant repeat at my house. Growing up, I loved watching Toy Story and my two daughters enjoy it now. I’m so glad that we’re able to share a bond over the animated characters we all know and love. At their request, we made these Toy Story pumpkins to celebrate the season. Here’s how to make this cheap and easy Toy Story Pumpkin Painting DIY Craft for Halloween.
Check out our other Disney Pumpkin Painting ideas!
What You Need to Make Toy Story Pumpkins
This craft is super easy and fun for the whole family to make. Here’s what you will need for this Toy Story pumpkin painting project.
- Foam Pumpkins (from Dollar Tree)
- Paint in Various Colors (yellow, blue, red, pink, sky blue, green, white, purple, teal and black)
- Paint Brushes
- Hot Glue/Glue Gun
- Pink Ribbon (Bo Peep)
- Red Pipe Cleaners
- Googly Eyes in two sizes
How to Make Toy Story Pumpkins
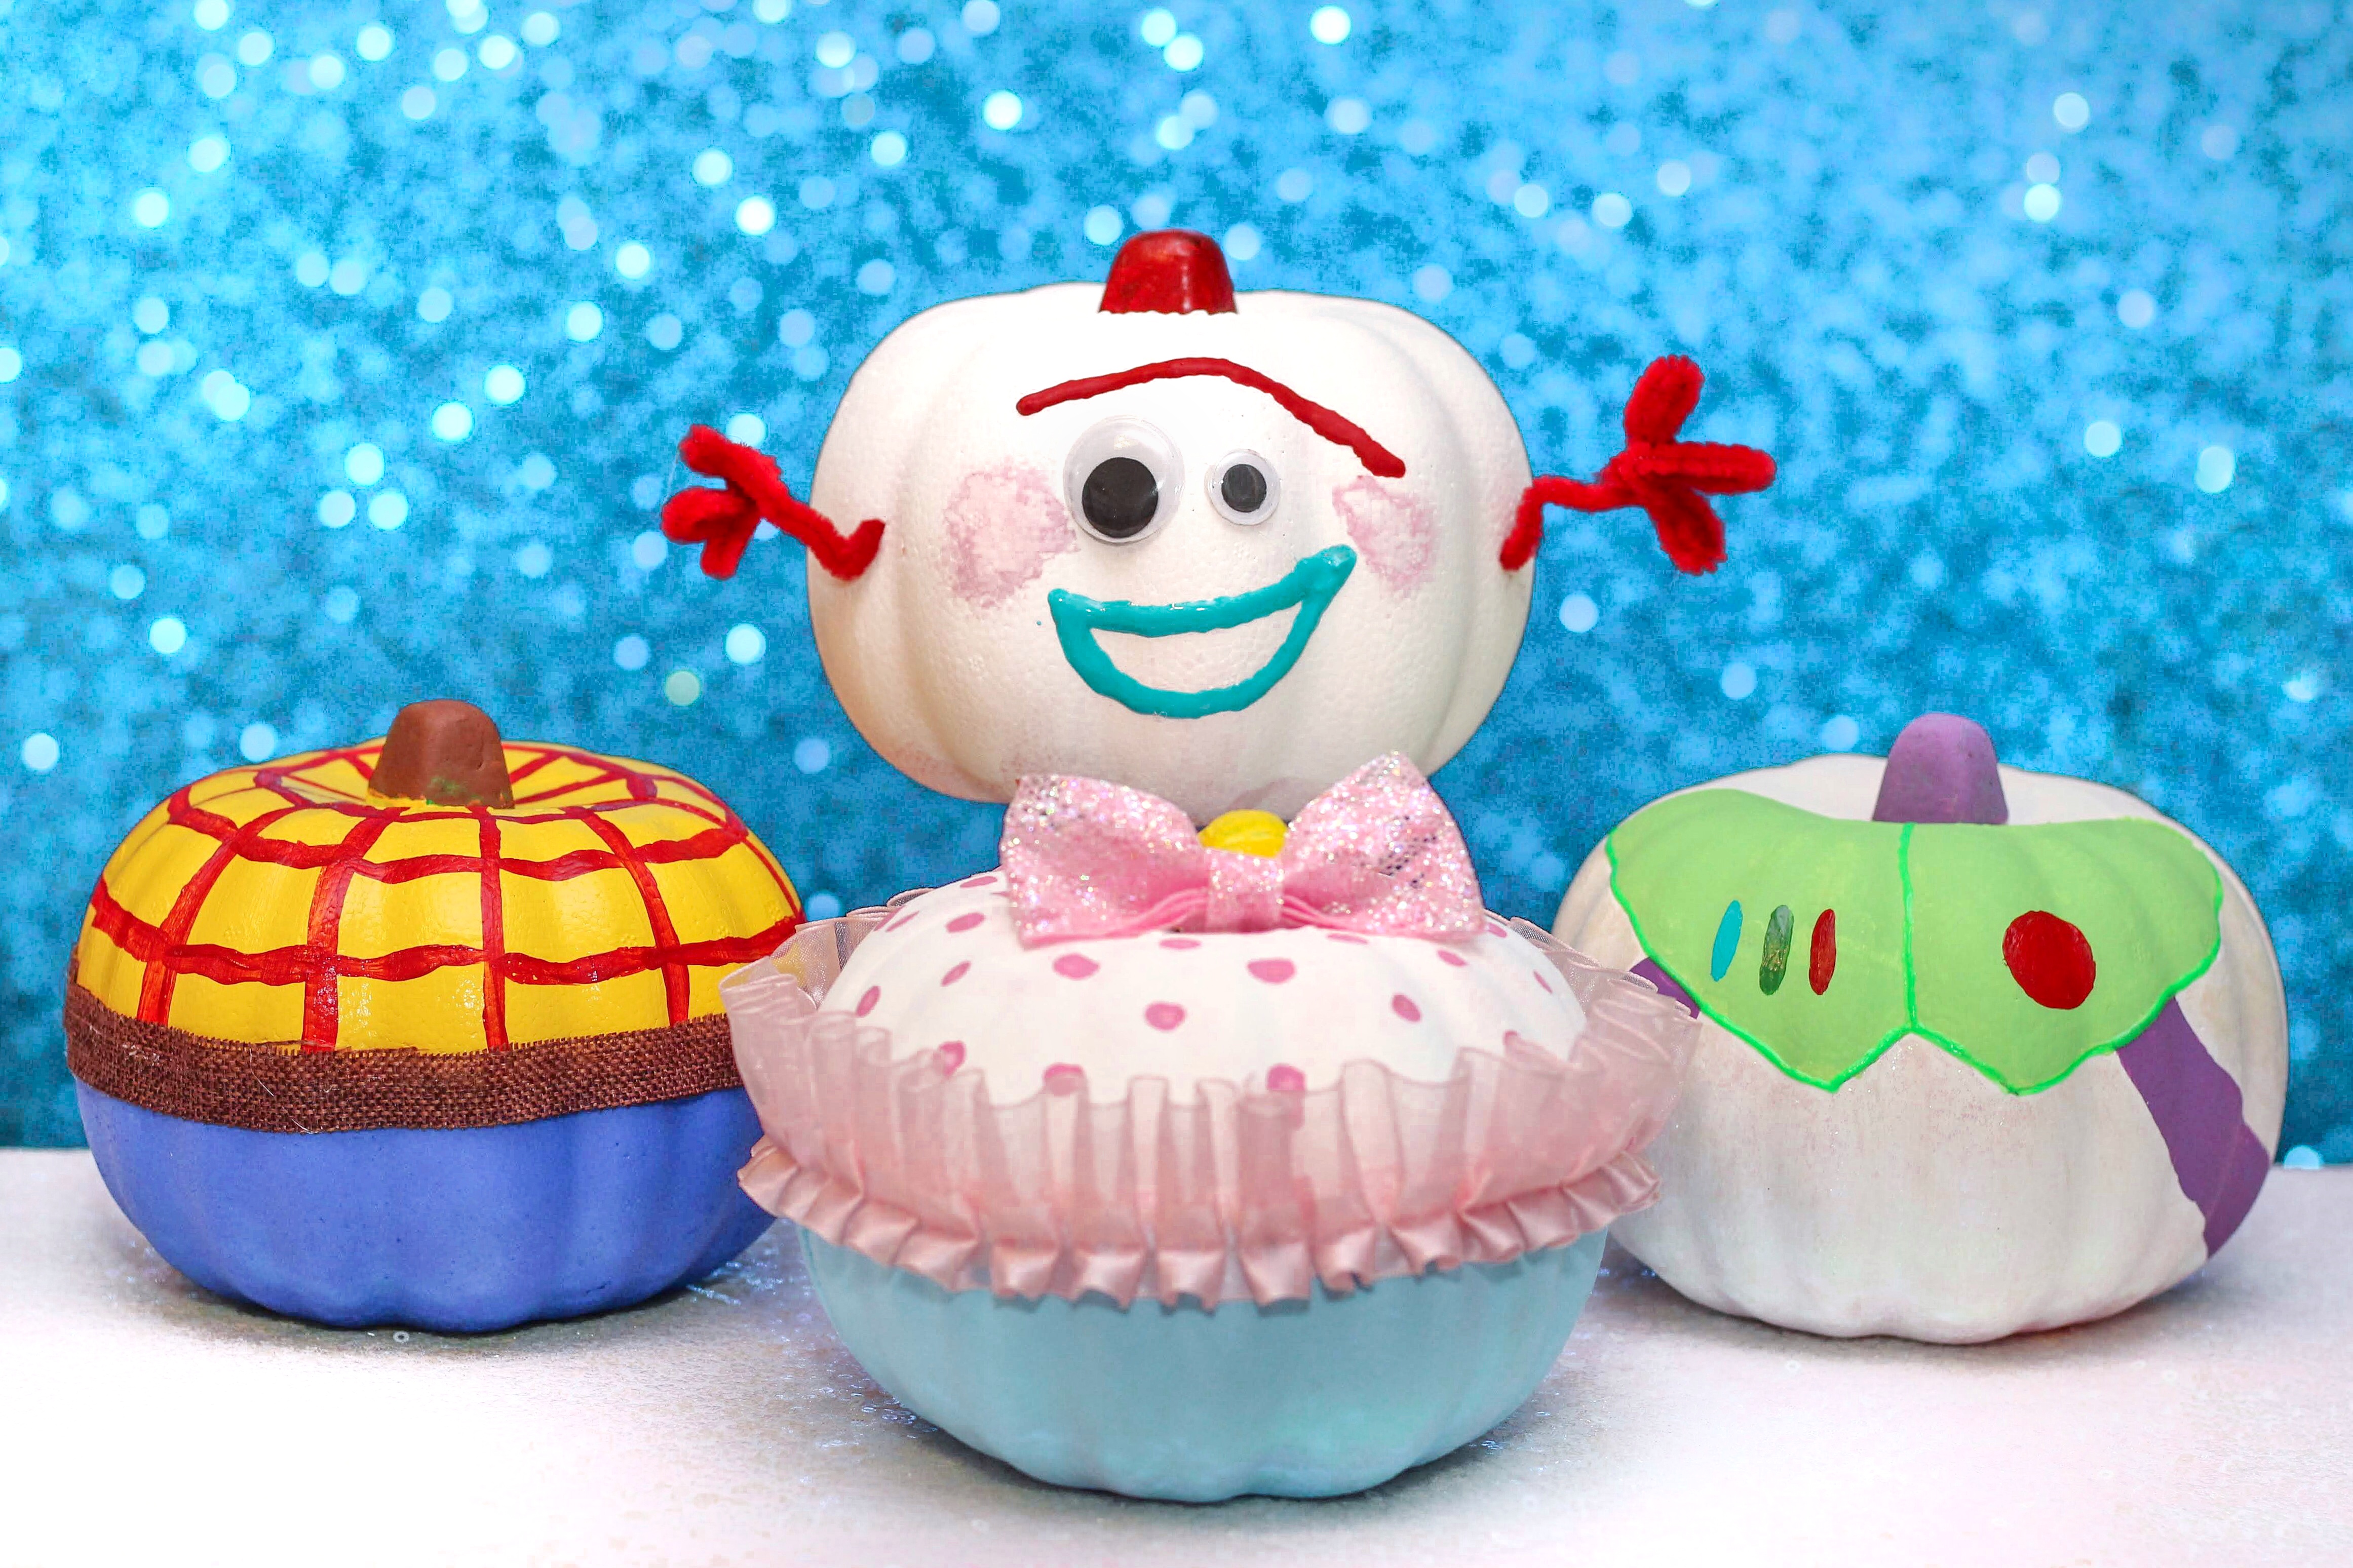
First, you will need to decide which pumpkins you’re going to make. If you want to make other characters (such as Jessie, Alien, Potato Head, etc) you will need to sketch out your plan accordingly. For this post, I will share how we made the Woody, Bo Peep, Buzz Lightyear and Forky pumpkins.
Begin by painting two of the pumpkins white. They will become Buzz Lightyear and Forky. Next, paint one pumpkin yellow (top half) and blue (bottom half). Lastly, paint the final pumpkin white (top half) and sky blue (bottom half). Add several coats of paint, letting each one dry completely. It took me 4-5 coats of paint to have a nice solid color with no orange peaking through.
Once the base colors for each pumpkin are done, it’s time to add specific details to each pumpkin to bring the Toy Story characters to life.
Woody Pumpkin from Toy Story

Using inspiration from Woody’s outfit, I painted red lines in a cross pattern on the top half of the pumpkin. This is achieved using a very thin brush and steady strokes. Next, I painted the stem brown and added a thin strip of brown burlap around the center using hot glue. If you really want to make your Woody Toy Story pumpkin stand out, try adding a pretend sheriff badge to the top too.
Bo Peep Pumpkin DIY

My daughter’s favorite character from Toy Story 4 is Bo Peep so I knew we had to make a pumpkin inspired by her. We added pink lacy trim around the center of the pumpkin. The stem is painted yellow and topped with a pink sparkly bow. Lastly, the pink polka dots are made using a q-tip.
Buzz Lightyear Pumpkin Craft
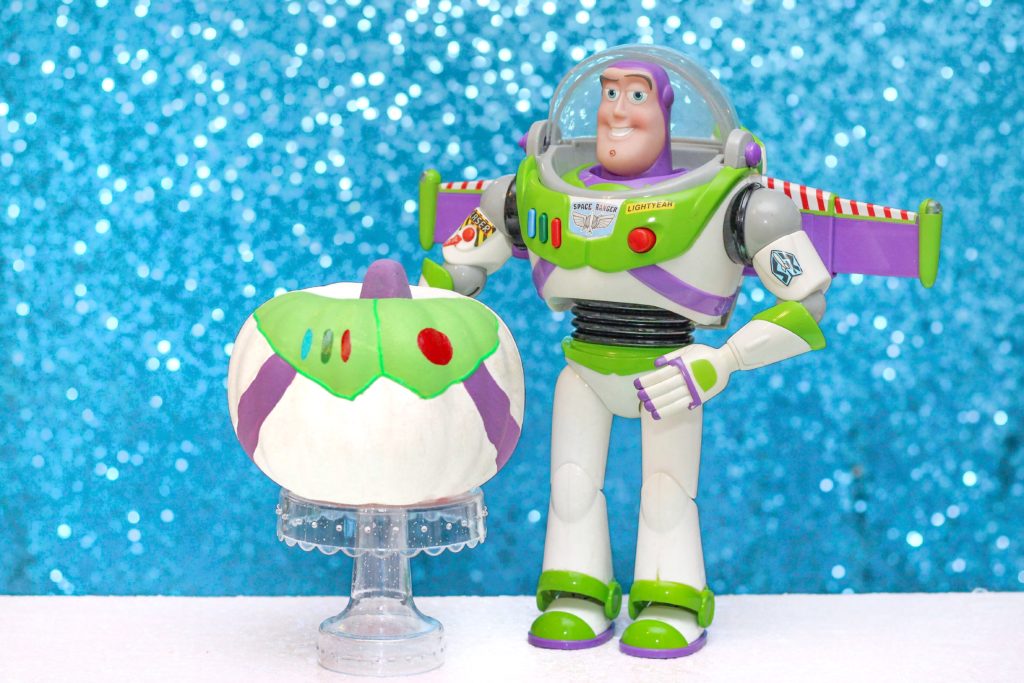
To finish our Buzz Lightyear pumpkin, I sketched the chest plate design using a pencil. Then I painted the design accordingly adding in the purple stripes and colorful buttons to match Buzz Lightyear’s chest. Next, I painted the stem purple. Lastly, I painted on glitter sparkles to add a shimmery finish.
Forky Pumpkin Toy Story 4
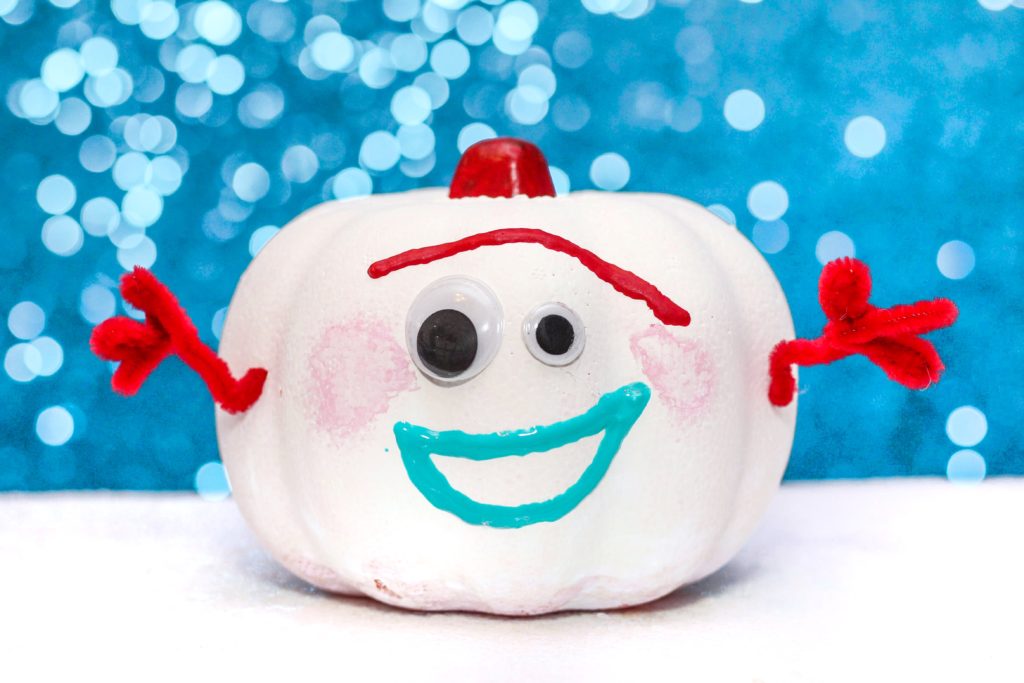
This is my favorite pumpkin from the set. Forky is such a fun new character from Toy Story 4 so naturally, we need a pumpkin that captures his charm. The teal and red are both puffy paint to give it the bubbly texture. Next, I made the arms from pipe cleaners and stuck them into the sides of the foam pumpkin. Finally, the little blush marks are made with pale pink paint and a cotton ball to dab it on.
That’s it! An easy and fun craft the whole family can enjoy. Do you paint or carve pumpkins? I’d love to hear about your Halloween traditions in the comments. For more Disney inspired crafts, be sure to connect with me on Facebook, Instagram, Twitter, Pinterest and YouTube.
Toy Story Pumpkin Painting DIY Craft for Halloween