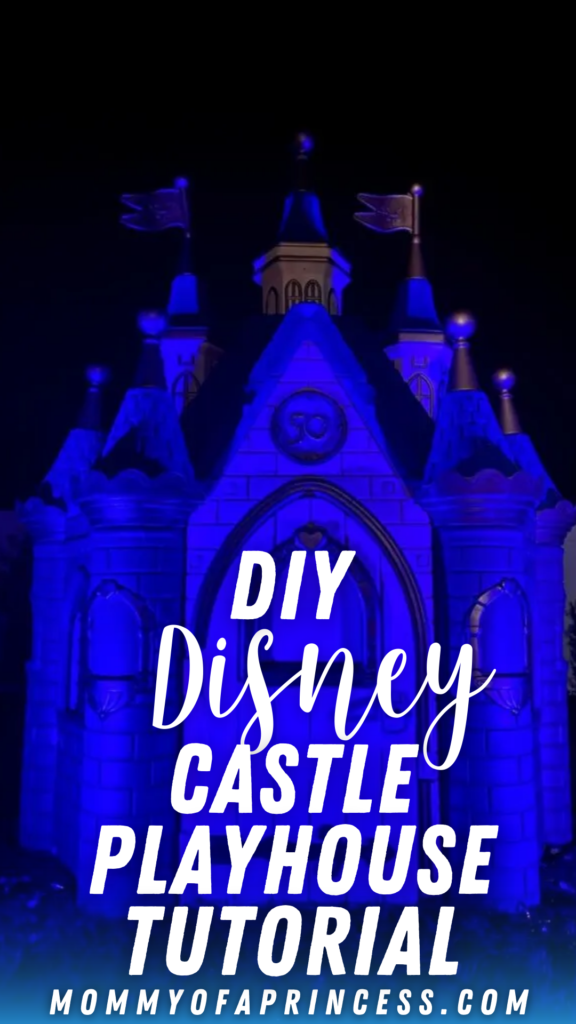

How to Make a Disney Castle Outdoor Playhouse
Are you searching for a fun addition to your backyard? This thrifted second hand castle turned into the most magical playhouse for my girls has brought us so much joy. I’m always on the hunt for new ways to bring some Disney magic to our home. If you’re a fan of Disney and have a crafty hand (and a lot of patience) you can make a Disney Castle Outdoor Playhouse for your own little princess, here is how I did it. Watch my TikTok – make video for more inspiration.
First and foremost, you will need to find a life size plastic castle. This specific model of outdoor playhouses (ECR4 Kids Jumbo Princess Palace Doorbell Playhouse) has been discontinued. I have not seen it available on Amazon or Target in several months. It was originally sold at Costco for $599 and has been available on Amazon with free shipping in recent years for $999. Either price is a little steep, in my opinion, for this specific project.
This original princess castle playhouse product description features a large front door, castle facade, open windows, working doorbell with playful sounds (requires AA batteries) and vibrant colors. Finding one in it’s original packaging for an affordable price is certainly a little difficult. The castle is made for outdoor use but can also be used as an indoor playhouse if you have the space. It certainly would make a fantastic gift idea for any little girl or Disney fan.
UPDATE: Good news! I recently discovered this playhouse for sale on Happy Mouse Playhouse for $829.99 with free shipping (delivery times: 10-18 business days arrival time frame) for order delivery. The site also states that they accept major credit cards and PayPal Express Checkout and will provide a full refund if the item does not arrive. I haven’t personally purchased from this company, and can’t find any 5-star reviews on their website, so I highly recommend doing some research for Happy MousePlayHouse-like experience prior to purchasing.
Finding a Diamond in the Rough
Generally, when you search for “princess playhouse” results pop up for play tents. While the pink play tent with star lights is gorgeous and super fun (we have that too!) it’s not the same as a “castle”. If you’re short on space and budget, the pop up for play tent is actually a great option for your little princess and includes a storage bag and folds up for easy, convenient storage when not in use.
I found our castle second-hand on Facebook Marketplace for only $150. It is worth noting, I searched Marketplace for MONTHS specifically looking for someone selling a castle like this. They seldom pop up, so If you’re eager to make one, I would recommend checking frequently. I also drove 2.5 hours (5 hours round trip) to pick up this castle from someone in South Florida. I would do it again in a heartbeat because I genuinely love how this project turned out.

Prepping to Paint
After finding a castle, it is now time to start cleaning and painting. I began by pressure washing the entire castle to ensure I had a very clean surface prior to starting the painting process. Pressure washing alone took several days. I would highly recommend taking all pieces apart for proper cleaning. You can notice the difference in pressure washed vs un-pressure washed in the photos below.


Finding the Perfect Colors
When Walt Disney World first introduced the new paint on Cinderella’s Castle as part of the 50th Anniversary Celebration, I instantly fell in love with it! The pale pink, vibrant blue and glistening gold was simply a magical sight to behold. Finding those colors in matching spray paint variations took a lot of trial and error. Here is what finally worked best!
NOTE: It’s VERY important to choose paint that will adhere to plastic. Avoid water-based paints if the playhouse will be outside. These specific colors and brand are sold at Lowes Home Improvement. A matte color also looks a lot better than a high gloss. Here’s some additional information on painting plastic outdoor decor.
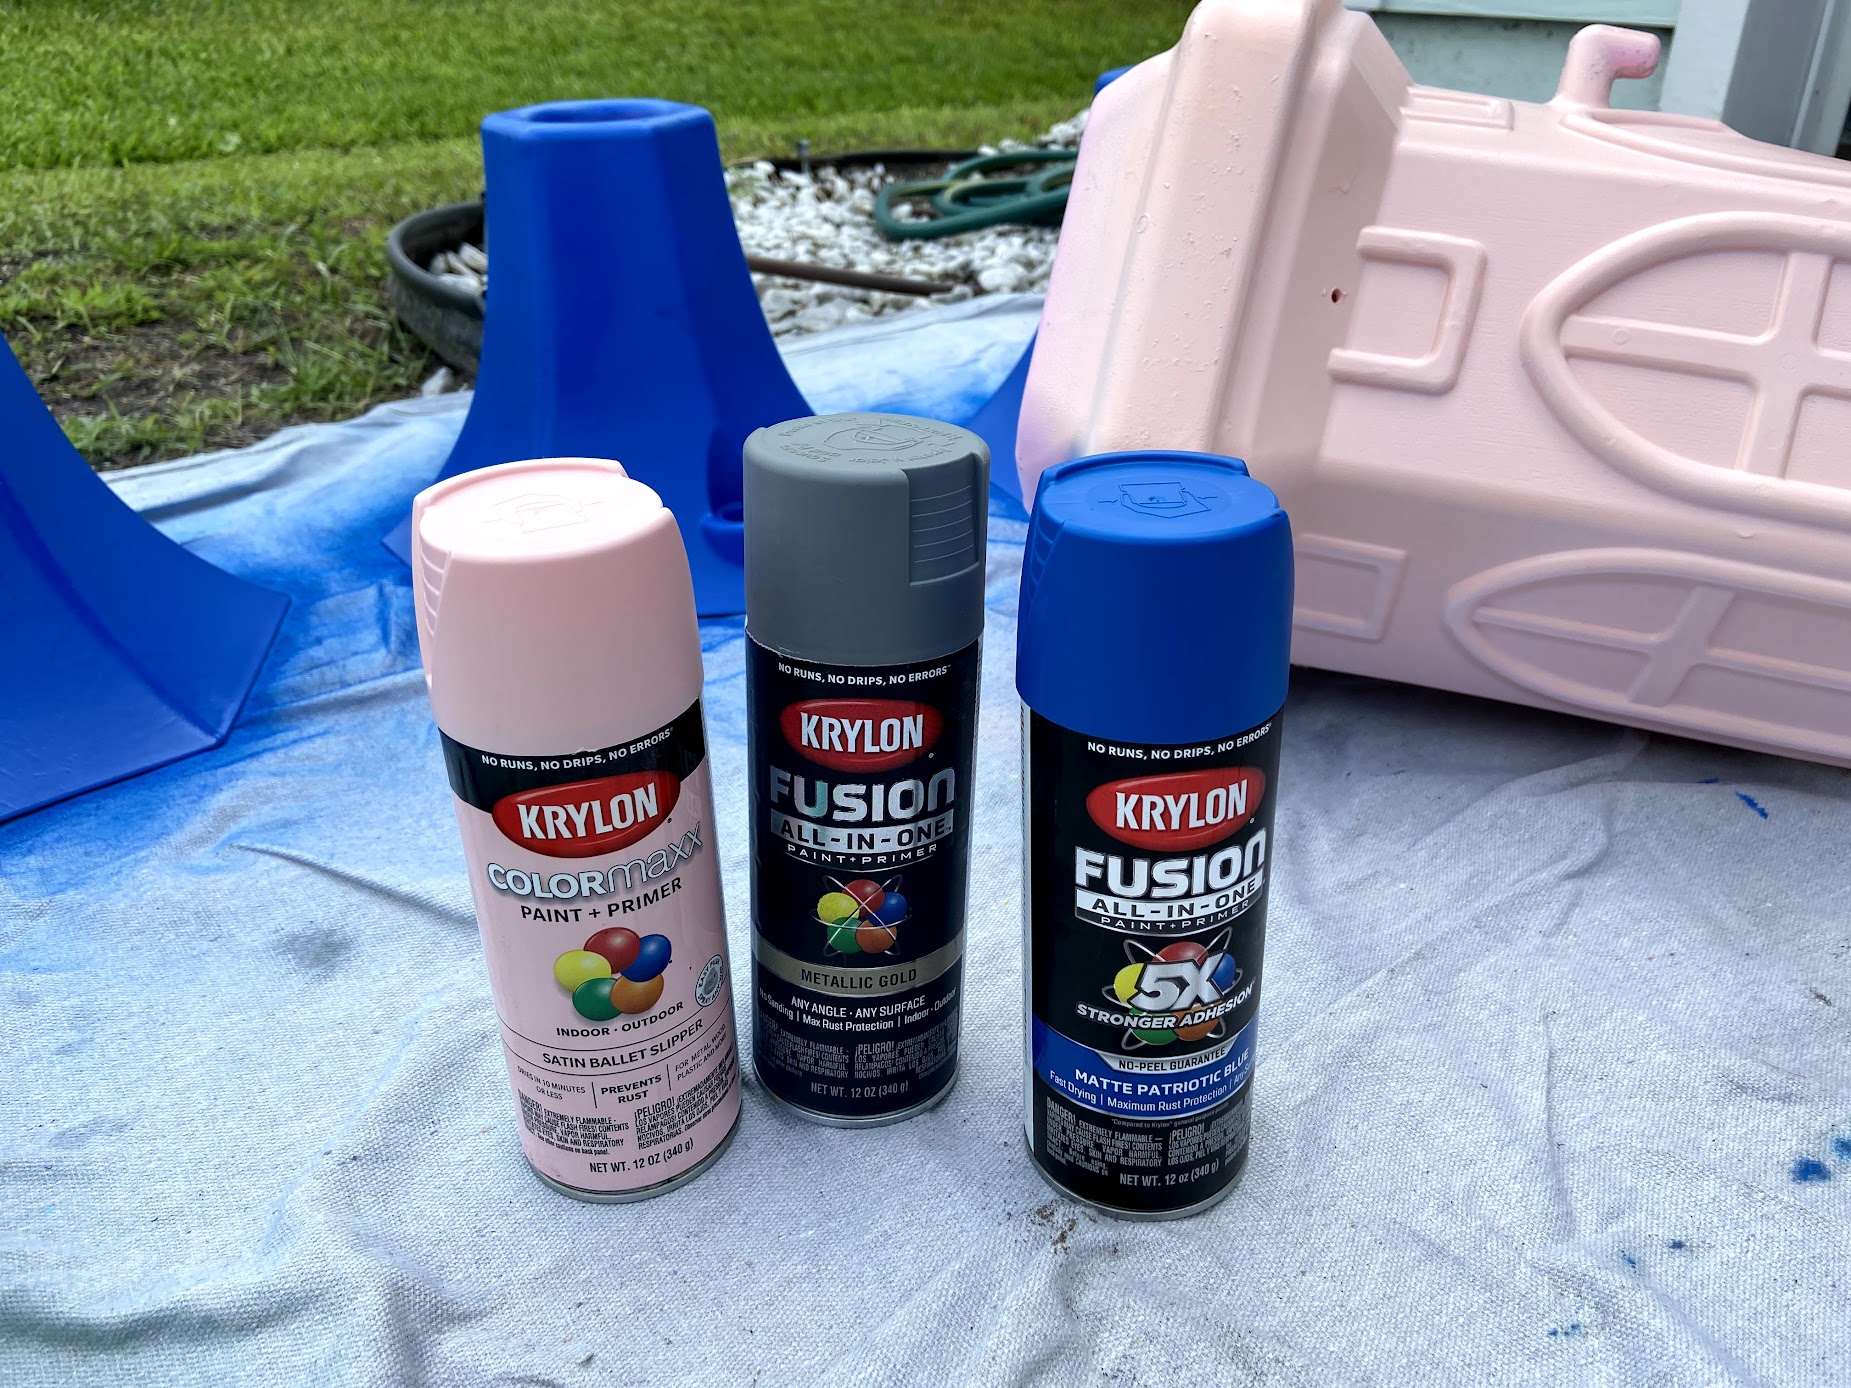
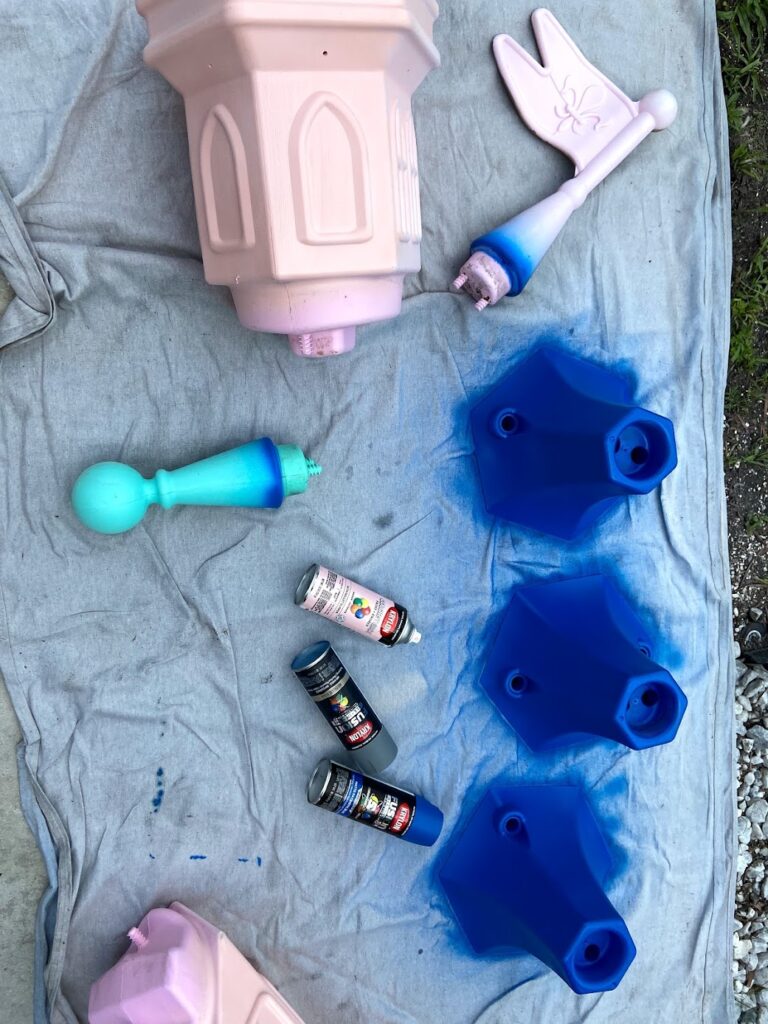
Next, it was time to paint, and paint and paint some more. I spent weeks painting this castle. It was definitely a labor of love! I did not sand in between coats, however, I did let them fully dry overnight before adding more coats of paint. The grey and blue only required two coats, but the pink took 3-4.
I used a canvas drop cloth and spray painted most of these in our driveway in front of my house. Once partially dry, I would carefully move them into the garage to dry overnight. Fast forward two years since I painted and the blue held up amazingly! No chips at all. The pink and grey on the other hand have chipped a lot.

All That Glitters is Gold
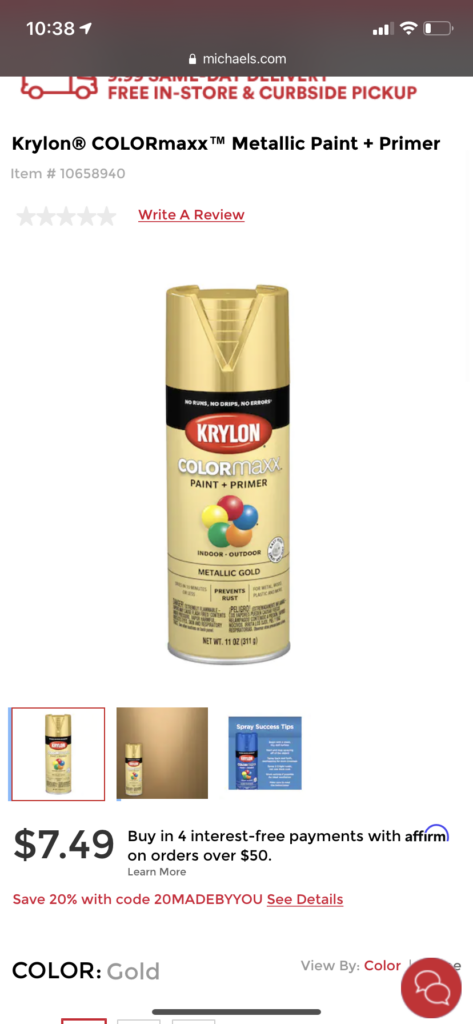
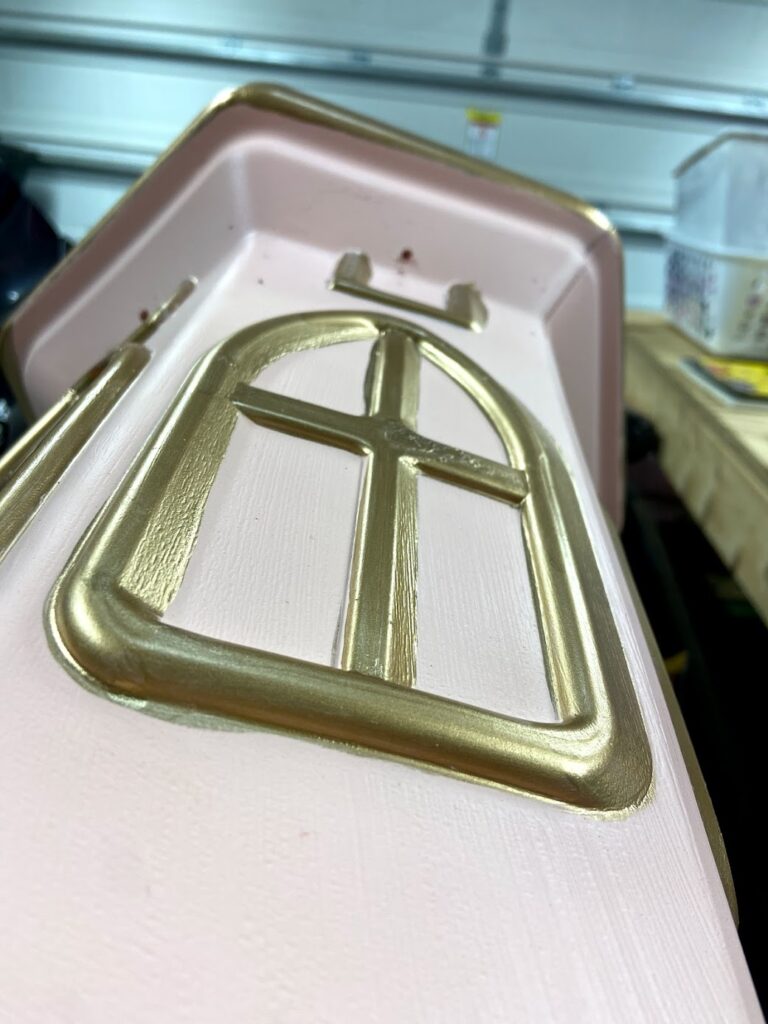
The gold spray paint color was much harder to nail. Most of the spray paints I tried didn’t have that dazzling metallic color, but instead had a more muted tan effect when sprayed on the plastic playhouse. I eventually found THIS gold color at Michaels and it was PERFECT.
Several of the pieces I could spray with paint easily. For the smaller details, it was more challenging. I tried taping it off with painter’s tape, but that inevitably peeled the other pink paint color off. I ended up spraying small amounts of the gold spray paint into a disposable cup and using a paint brush to hand paint on the small details. It was very tedious but so worth it when it came to the final overall design.

Putting it All Together
I was so excited to watch this Disney castle theme playhouse finally come together. It look months of work and at some moments felt as though I would never be finished. Here are some images in various stages of the process:
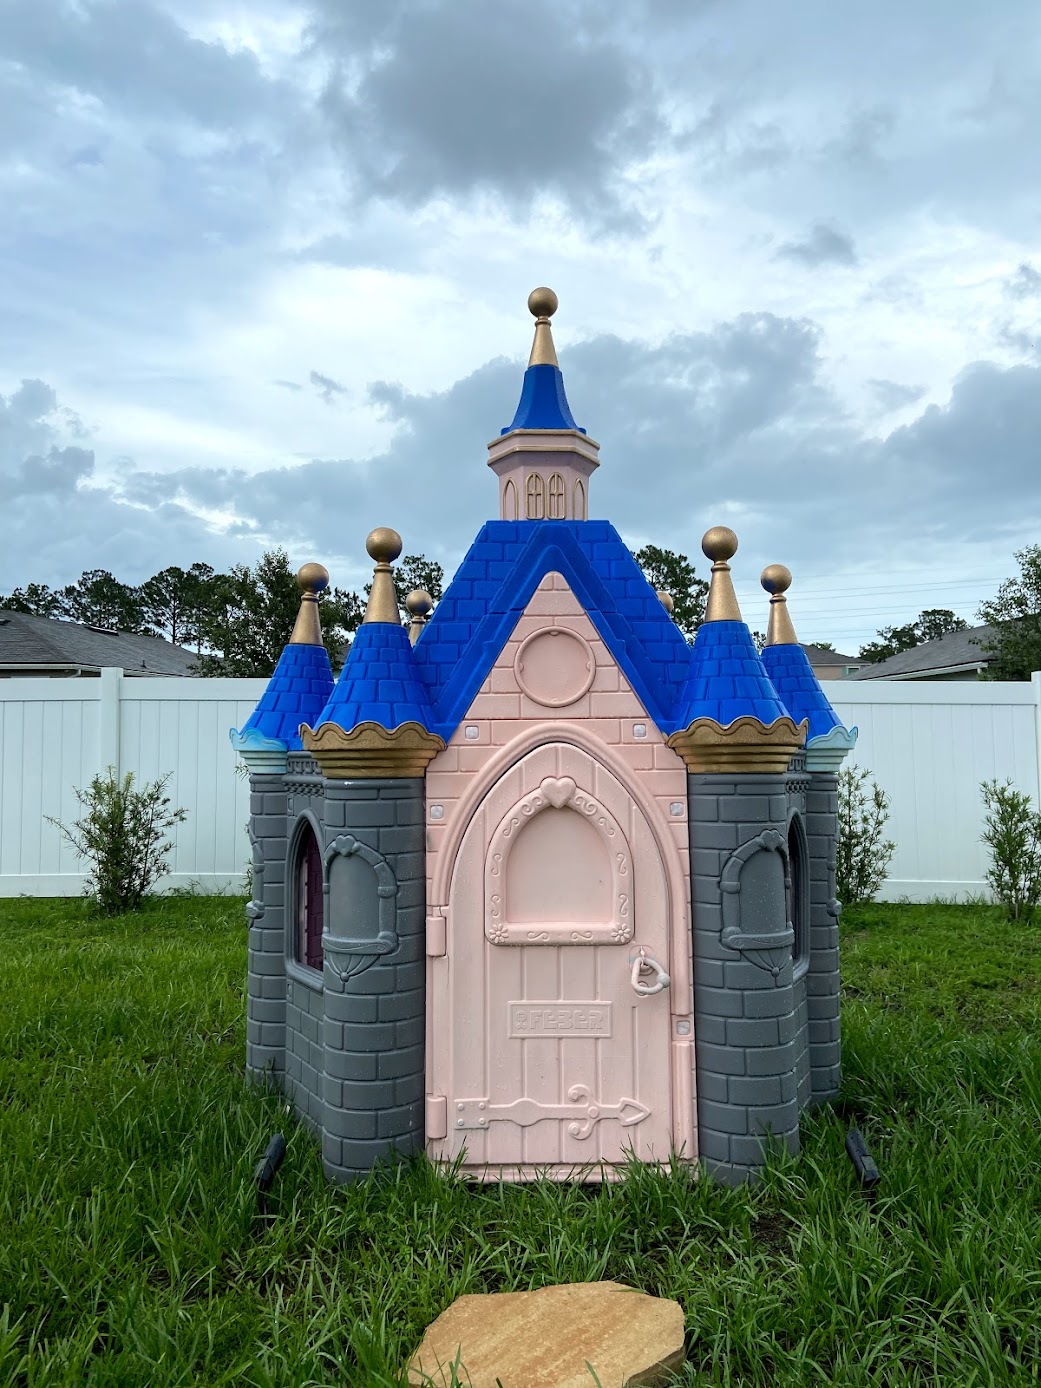
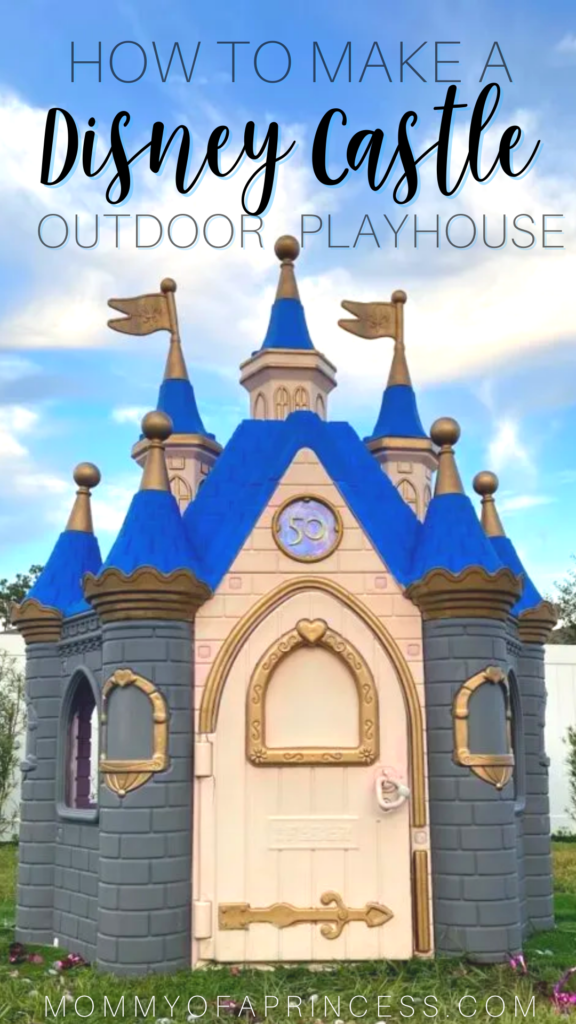
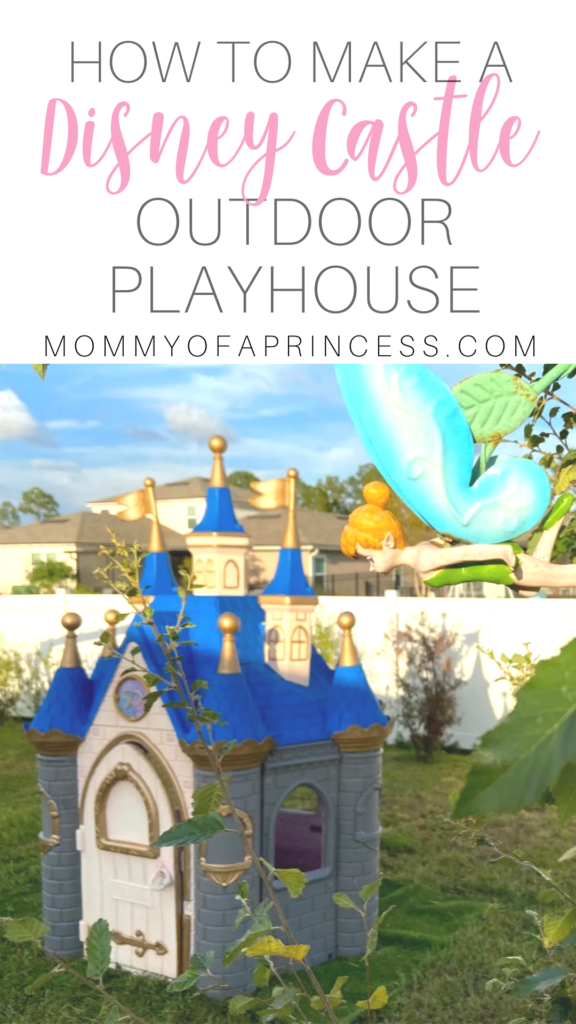
The Finished Product
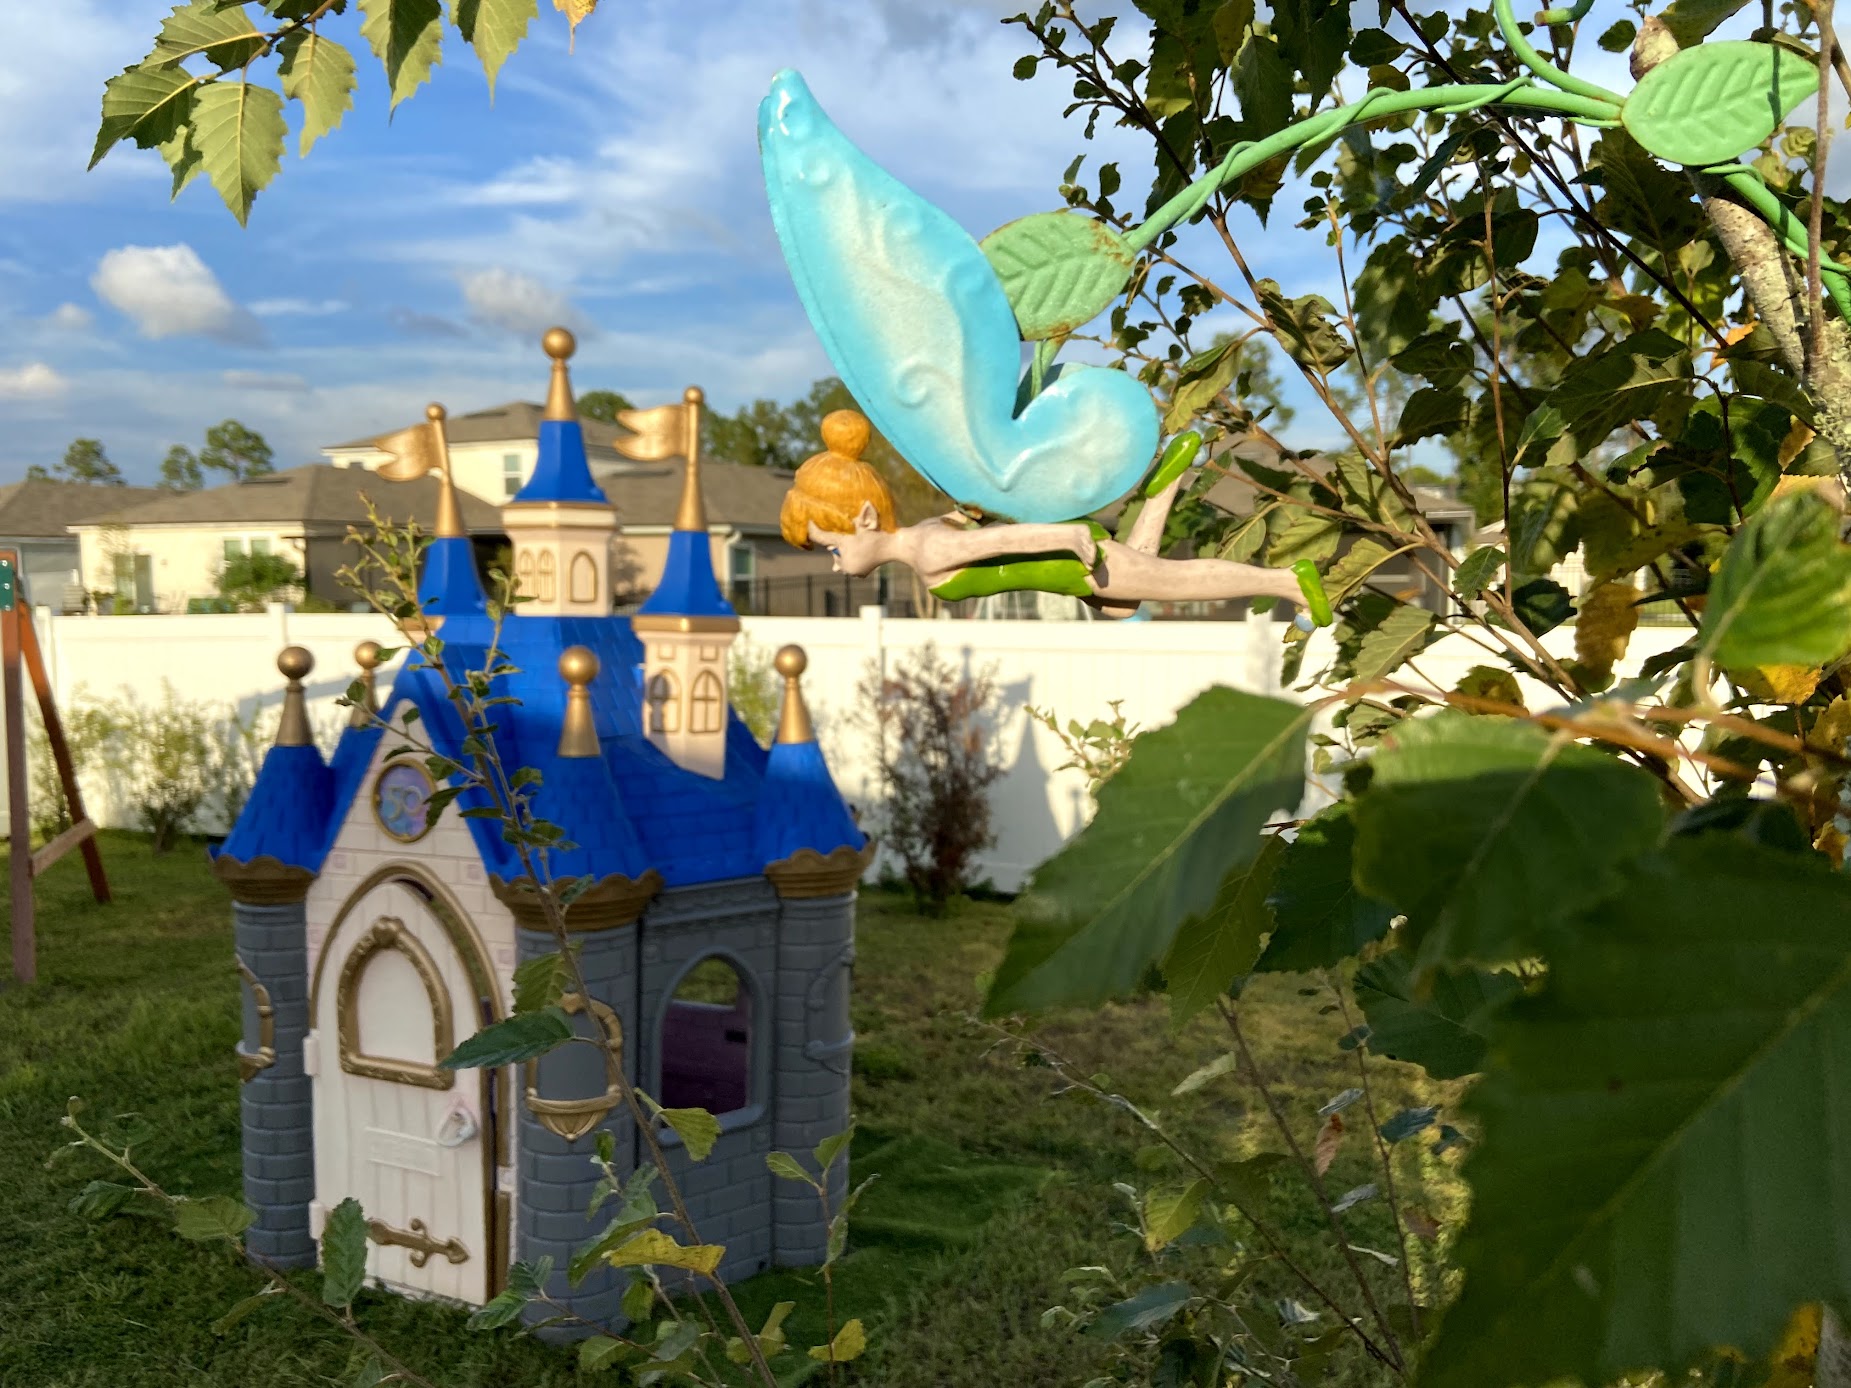
After all of the tedious gold accents were hand painted (including the door, front windows and tower roof bases, it was time to add our “50” inside the circle. I used a mixture of various spray paints to create the EARidescent circle including a coat of glitter spray. The 50 was made from craft foam and spray painted gold. I hot glued it on which I knew was really only a temporary fix.
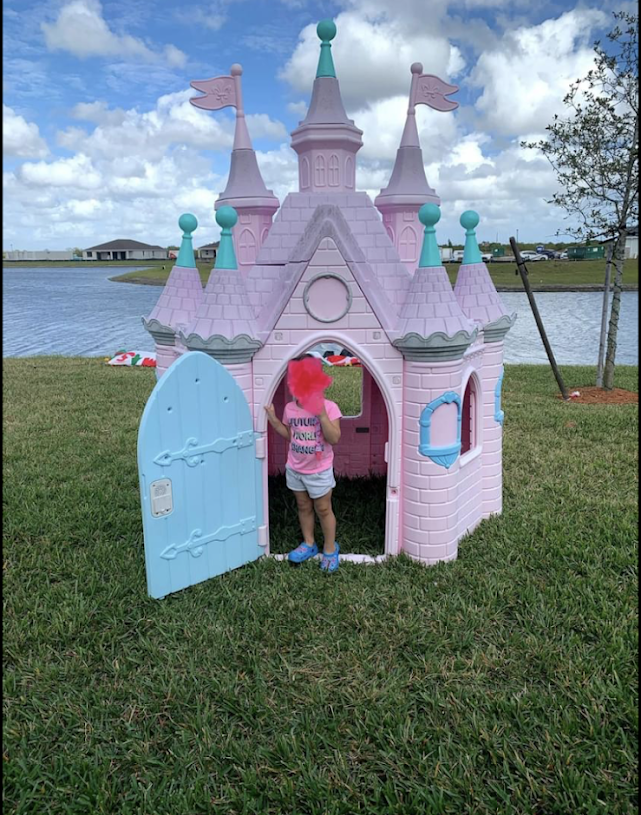
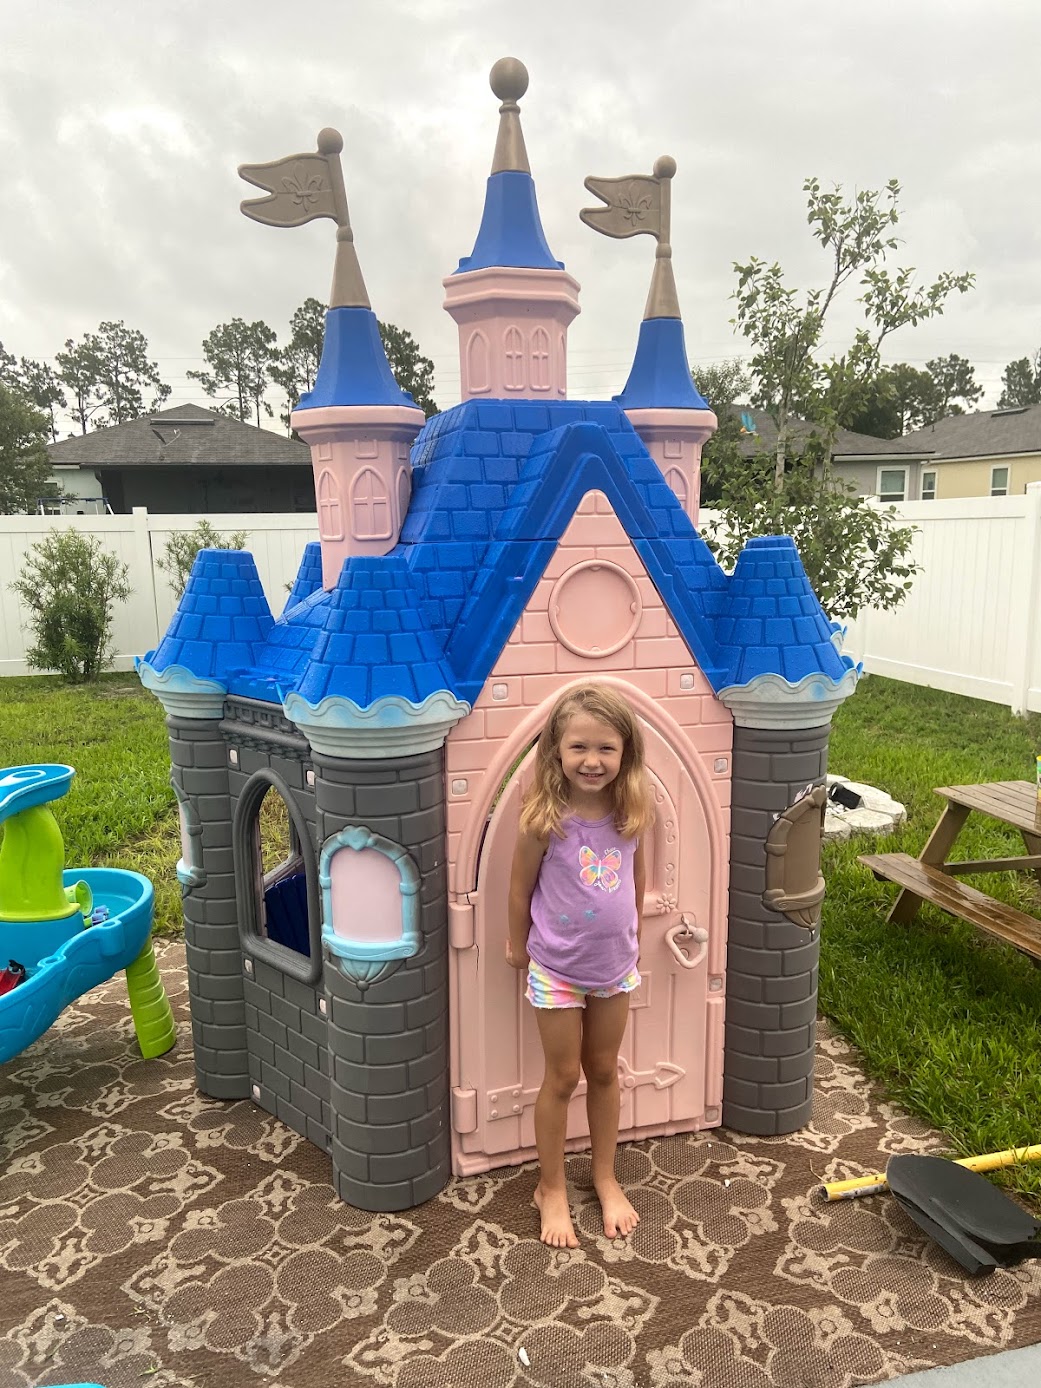
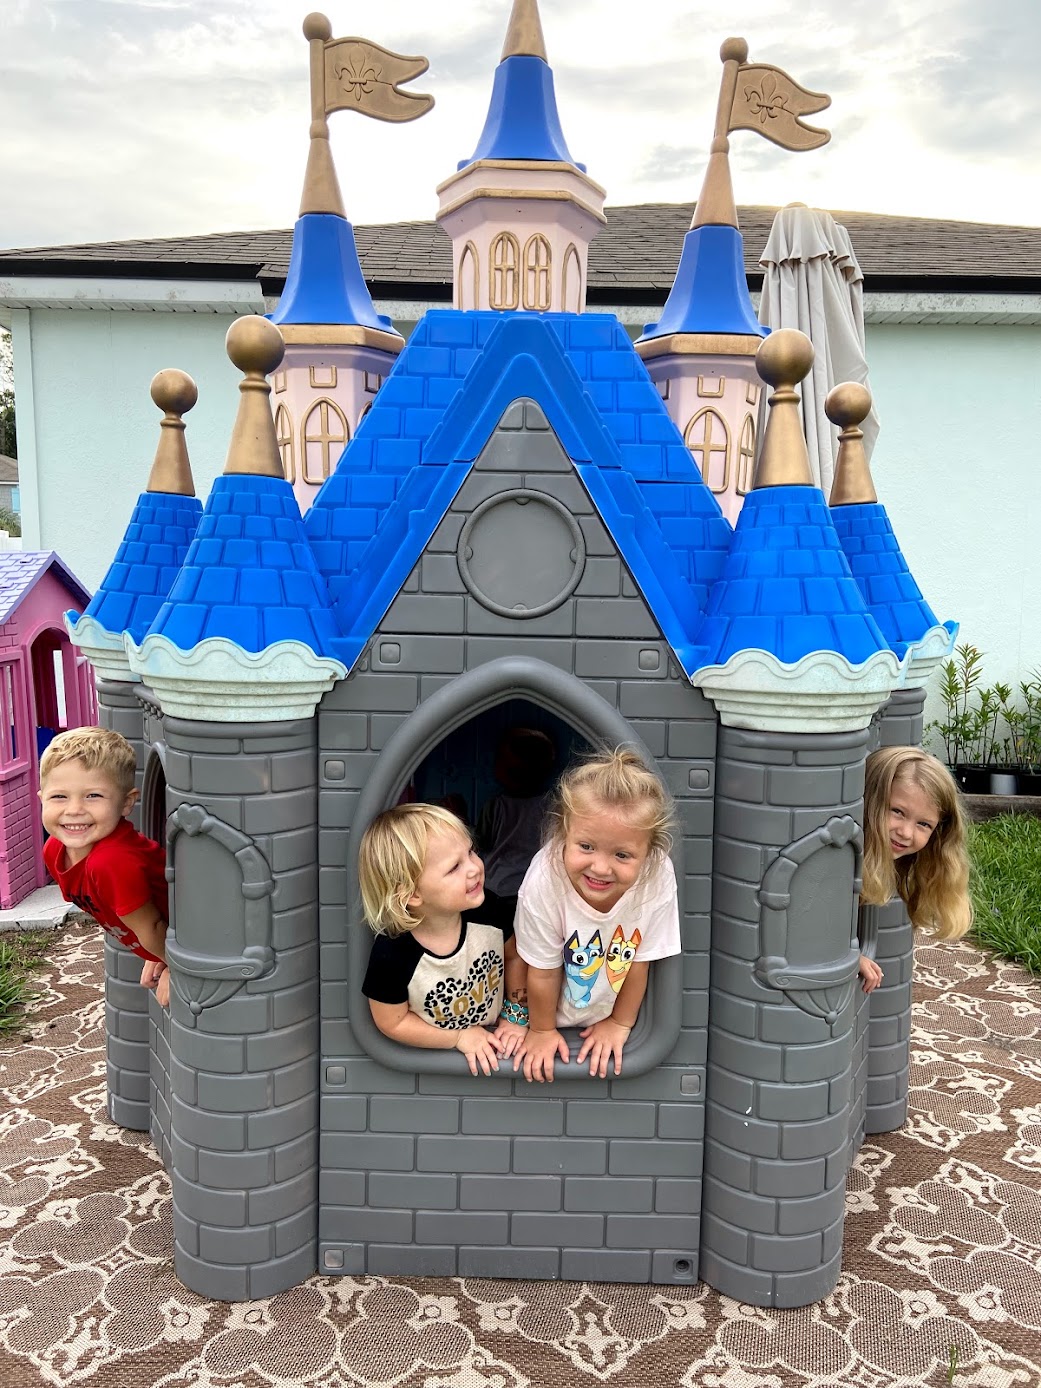
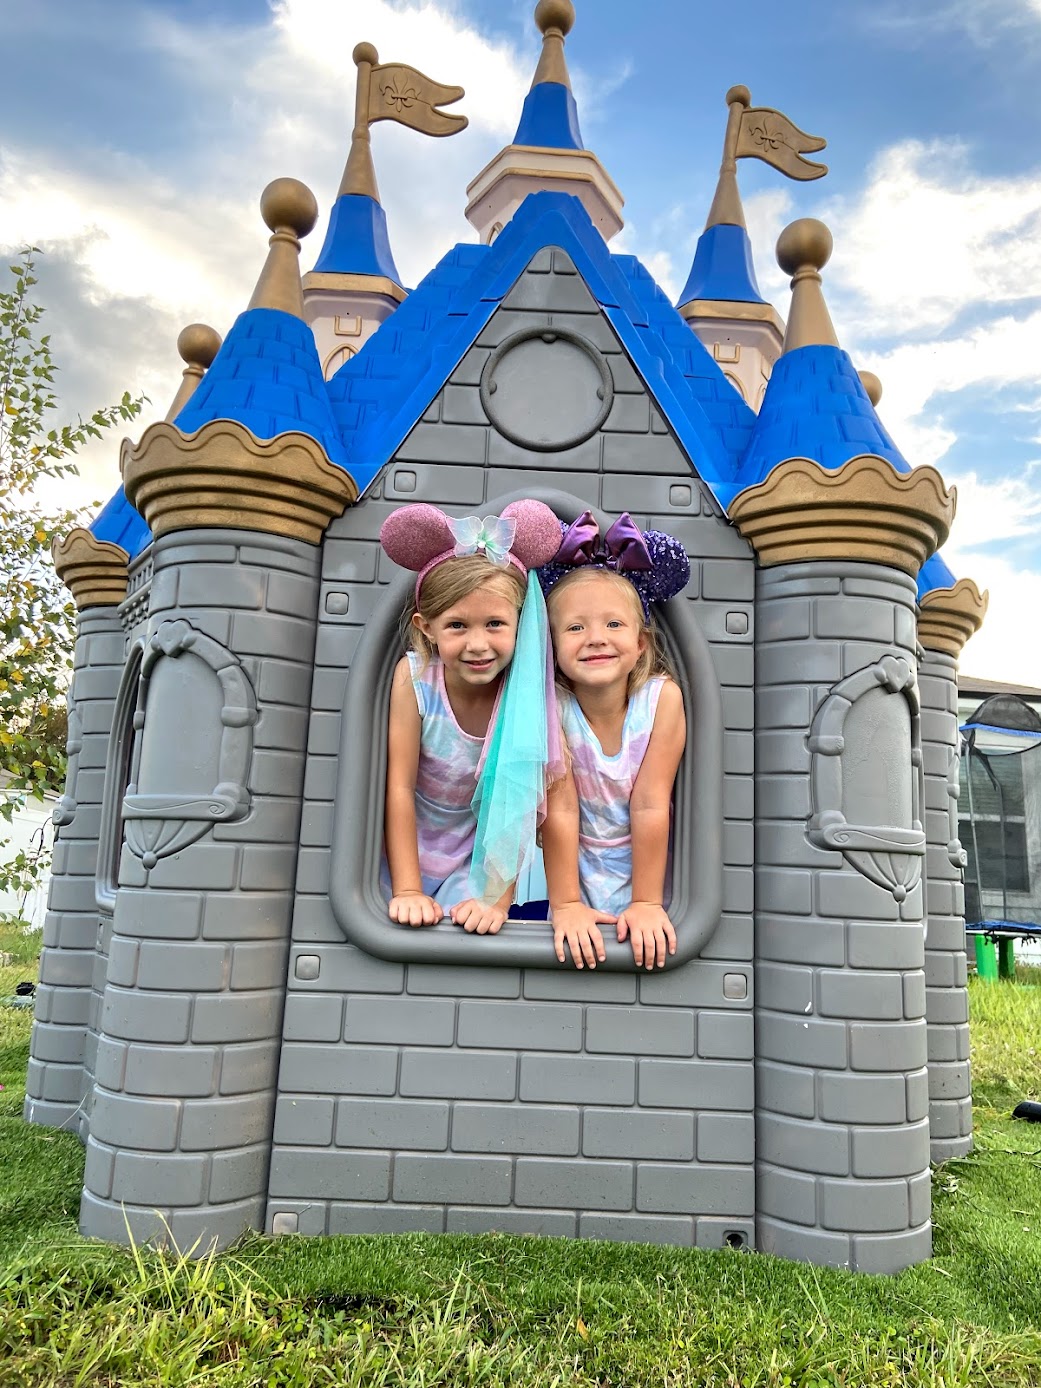
Our castle was finally finished shortly before Magic Kingdom’s 50th Anniversary on October 1st, 2021. Of course, we had to take some magical photos to celebrate!
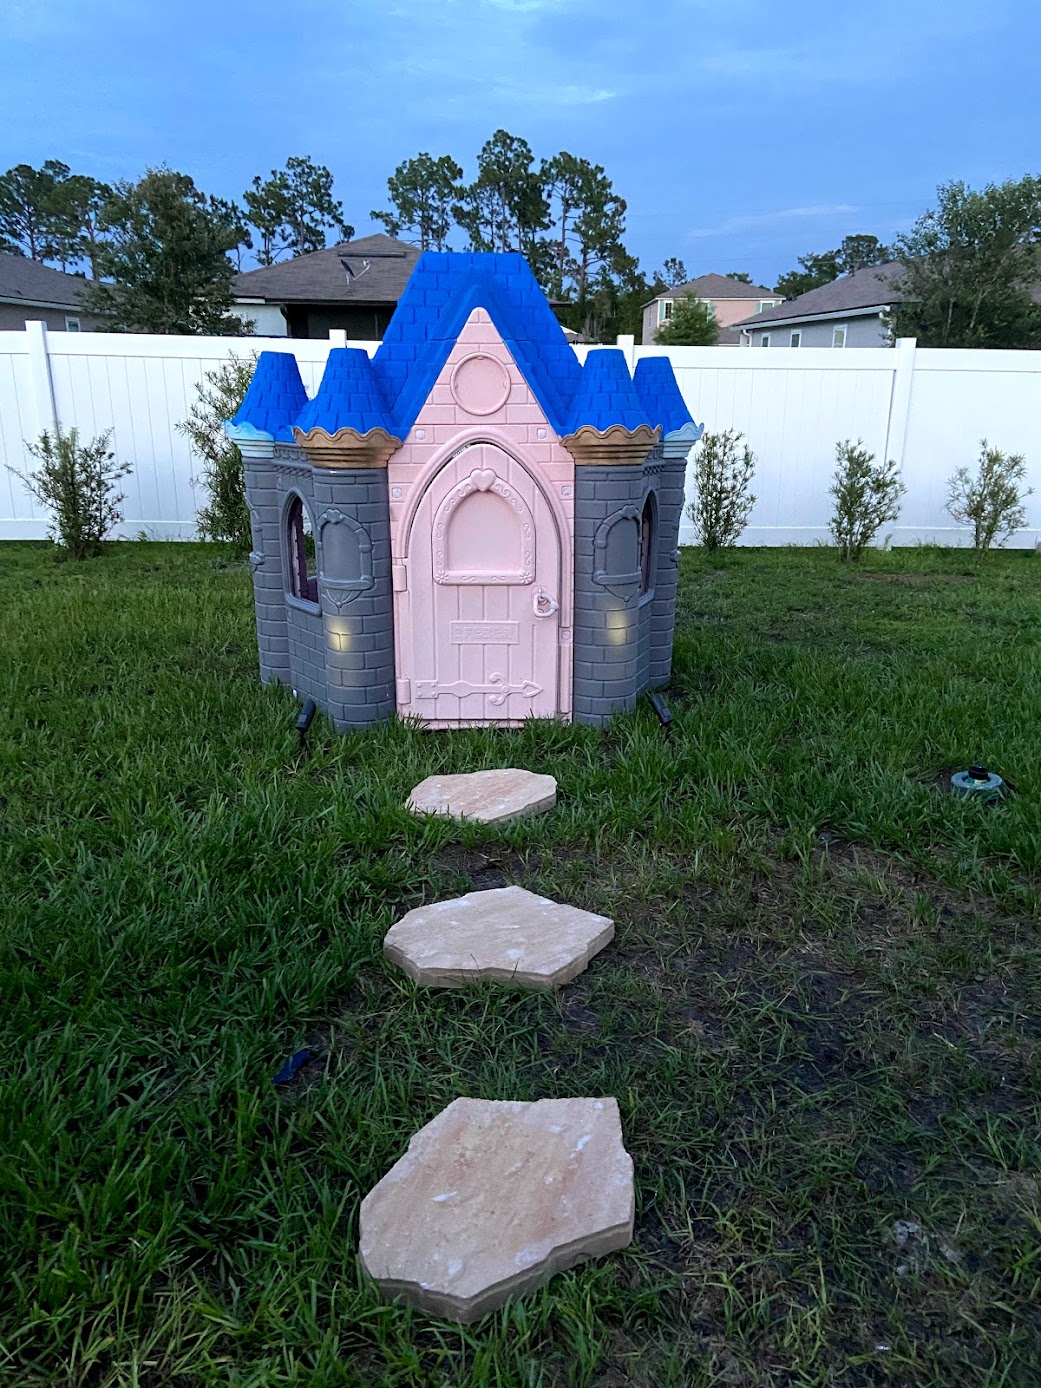
I put a sheet of fake grass under the castle to keep it clean and prevent weeds from growing inside. We added three magical stepping stones leading to the door. I also added some blue solar lights to give it some pizazz at night too. Our Disney Castle Outdoor Playhouse gives us so much joy! I love looking out our back door and seeing it on a daily basis. We can’t wait to add more outdoor decor to make our backyard more magical.
FAQ’s
What is required for assembly?
I used a simple screwdriver, no powerful tools or special skills required! Even missing the instructions, it was pretty easy to put together.
Is the material durable?
I would say this castle is like most outdoor kid toys. It does have durable material to withstand the outdoor elements, but has faded very fast. It was quite faded when I purchased it from the original owners. The door also broke off of our castle and unfortunately was not repairable. So just keep in mind it is a kids toy.
Does it break down for easy storage?
No, I would not say that this has convenient storage. It would easily take up a lot of our garage space when broken down and has a rather large footprint when fully assembled. As an adult, I can stand inside of it.
Have more questions? Leave them in the comments below or reach out on social media! My girls use our castle for hours of imaginative play and I would love to help make your castle dreams a reality too.


This post contains affiliate links. Please read my disclosure.