
How to Disney Frozen Pumpkin Painting
DIY Frozen Pumpkin Painting Ideas
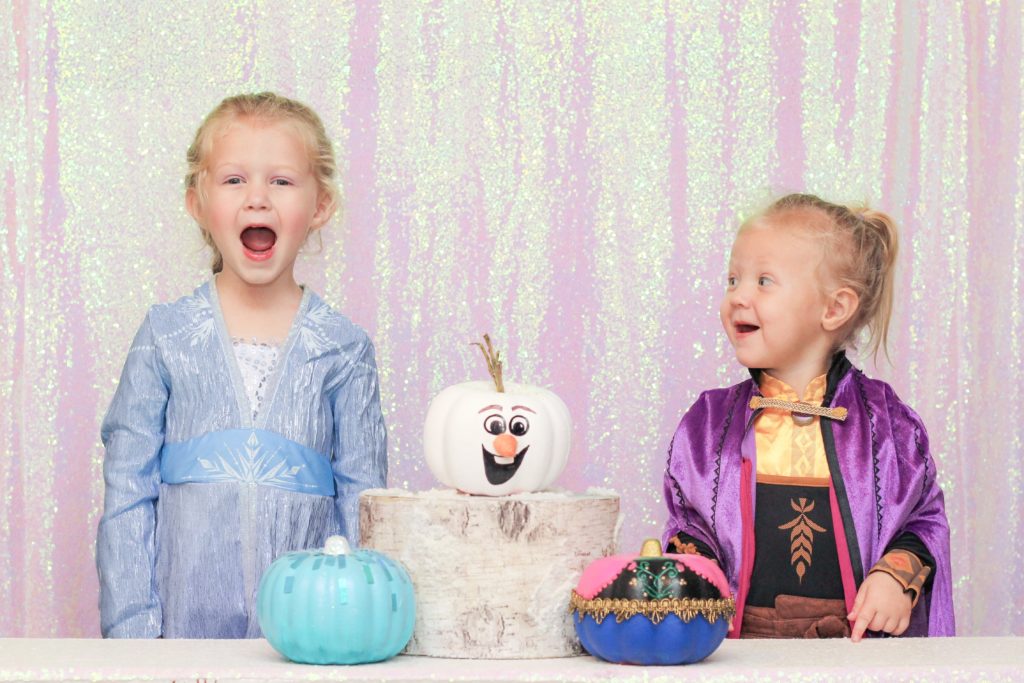
Each year for Halloween, we love painting Dollar Tree pumpkins. A few years ago we did Toy Story pumpkin painting to celebrate the release of Toy Story 4 on DVD. We made this set of Frozen pumpkins when Frozen 2 debuted and had so much fun creating them! See these easy DIY Disney Frozen Pumpkin Painting ideas for your family.
Check out our other Disney Pumpkin Painting ideas!
What You Need to Make Painted Frozen Pumpkins
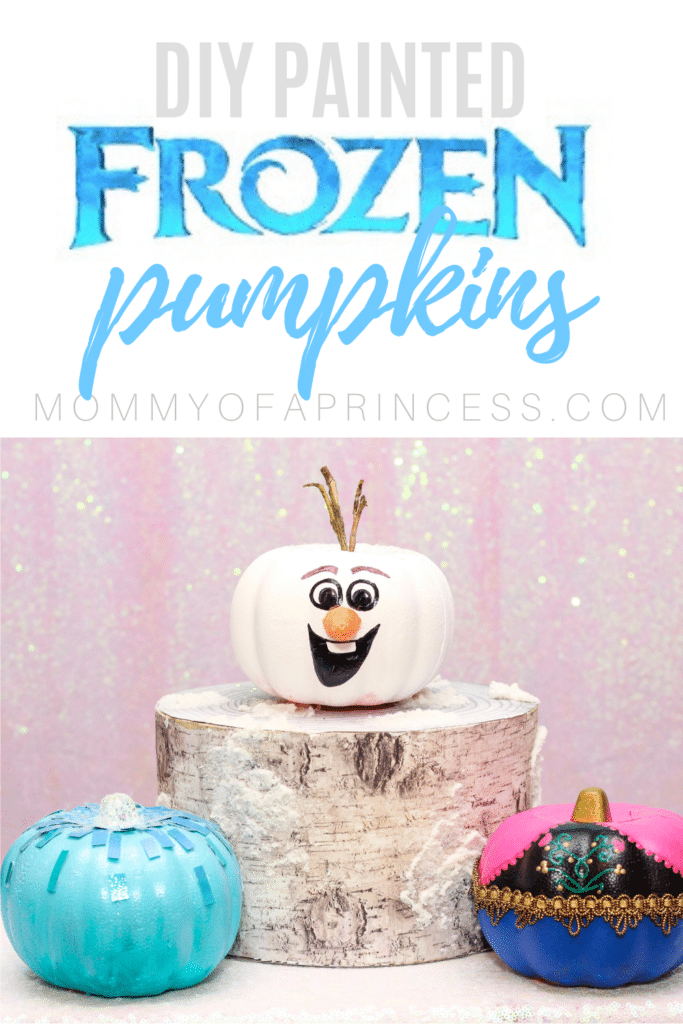
For this project, we created three iconic Frozen characters including Elsa, Anna and Olaf. Here’s what you need to recreate this easy pumpkin craft.
- Foam Pumpkins (from Dollar Tree)
- Paint (teal, pink, blue, black, white)
- Paint Brushes
- Black Paint Pen
- Three Sticks
- Carrot
- Gold/Pink/Green Puffy Paint
- Gold Ribbon
- Shimmery Scrapbook Paper
- Hot Glue/Gun
- Iridescent Glitter
- Mod Podge
- Rhinestones
How to Make Elsa Pumpkin

First, paint the pumpkin teal. You may need 3-4 coats to cover all of the orange. Once dry, paint a darker shade of teal on the bottom and use a sponge brush to blend it into an ombre type look. Next, cut the shimmery scrapbook paper into small rectangles. Hot glue the rectangles in a vertical pattern from the top. Lastly, add some Mod Podge and sprinkle iridescent glitter around the stem for some sparkle. You can also add in rhinestones for added magic.
DIY Anna Painted Pumpkin

To make this Anna pumpkin, begin by painting the top half black with a pink “cape” design and the bottom blue. This will likely take 2-3 coats of each color. Next I sketched out Anna’s corset design using a pencil, and then traced with the puffy paint to complete the design. Then I added pink dots around the edge of the cape. Finally, I added the gold ribbon trim around the center.
How to Make Olaf Frozen Pumpkin

I love how this Olaf inspired pumpkin came out. Begin by painting the pumpkin white. You will need 4-5 coats to fully cover the orange. Once dry, draw on the eyes and mouth using a black paint pen. If needed, trace out the design with a pencil first. I used a carrot from my Easter craft stash to make the nose. Finally, I added sparkles to the top of the pumpkin and inserted three sticks to create the finished look.