Inside Out Mickey Ears
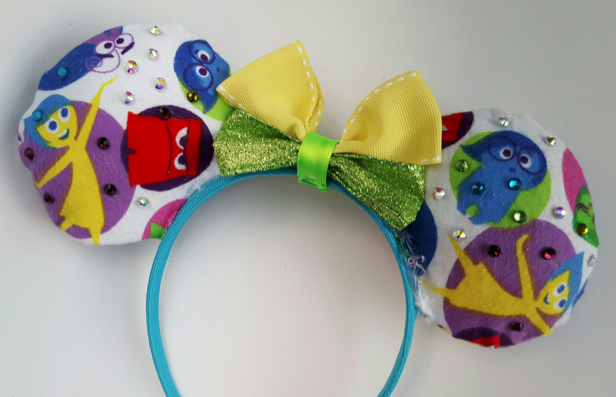
Mickey Ears are so easy to make and such a fun way to set yourself apart at the parks. You can purchase custom made ears on Etsy for $30+ or you can follow our easy tutorial and make them yourself! In honor of the Joy and Sadness meet and greet debuting at Epcot, we made these adorable Inside Out Mickey ears.
What you’ll need:
- 1/4″ Foam Sheet
- Fabric of your choice
- Headband
- Needle/Thread or Sewing Machine
- Pillow Stuffing
- Hot Glue & Glue Gun
- Ribbon for center bow
- Rhinestones (optional)
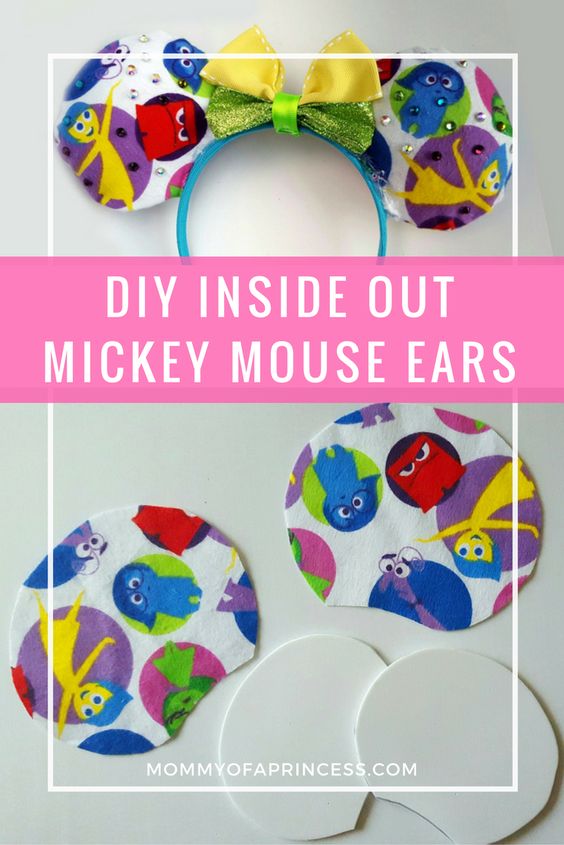
Begin by cutting out four circle shapes (two for each side). This fabric was purchased from Joann’s Craft Store. We like to also cut one side so we know which way the ears will be a-fixed to the headband. You will also need two foam circles (for inside the fabric) cut slightly smaller.
Next, flip your fabric inside out. Haha <-see what I did there?! Using straight pins, pin the fabric in place so it can be sewn. You can either sew them on a machine or by hand. Be sure to leave the bottom OPEN. Flip the fabric right side out.
Insert the foam circles and stuff fluffy stuffing on either side to give it this puffy look. Hot glue the bottom of the fabric to the foam. We like to fold it over to create a smooth, seamless look. Next you’ll hot glue the ears to the headband. This headband was purchased from the Dollar Tree (can’t beat 4 for $1).
Lastly, add a bow to the center (in between the ears). We vary our bow styles and love to experiment with different looks. You can either hot glue or zip tie the bow to the headband depending on how permanent you want it. I also love to add sparkle to my ears, because glitter makes everything better, so I randomly worked in some AB rhinestones that I had in my crafting supplies. And now you have Mickey ears to proudly wear for your next Disney trip. They really are THAT easy!


