
DIY Cake Smash Photoshoot
DIY Cake Smash Photoshoot
The latest trend in baby’s first birthday celebrations is cake smash sessions, typically separate from first birthday party celebrations. While this offers an adorable opportunity to photograph your little ones first major sugar fix, it can also get quite expensive if you’re hiring a professional photographer.
Capturing all the first moments in a baby’s life is so important. Whether is a newborn session, smash cake photoshoot or family photos, learning to DIY pictures is a great way to get adorable photos without the need for an expensive session fee. See how I did this DIY cake smash photoshoot at home and on a small budget.
This post contains affiliate links. Please read my disclosure.
See my tips for a DIY newborn session here.


How to do a DIY Cake Smash Photo Shoot
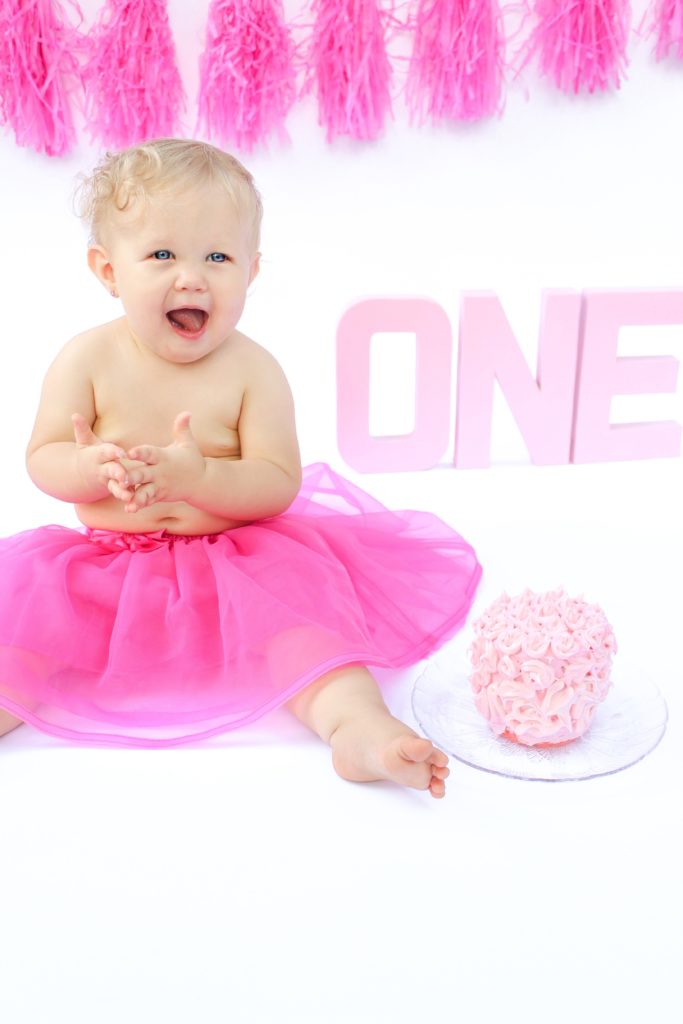
First and foremost, you will need to choose your photo shoot cake smash theme. Lots of moms theme the photos to their baby’s first birthday theme but that’s not always the case. For my second daughter, I did a Game of Thrones Cake Smash Photoshoot and a Toy Story First Birthday Party.
Once you have a theme and color scheme in mind, shop for the supplies. I highly recommend purchasing a portable backdrop frame from Amazon. I use mine for photos and parties all the time! They’re pretty cheap and easy to set up and store. If you don’t want to spend money on a frame, thumb tacking your backdrop to the wall would work just fine.
For these photos, I purchased a roll of white poster paper from Michael’s (on clearance for $10). The roll of paper was great because I could throw it away afterward without worrying about cake getting everywhere. Other options include bulletin board paper, a flat sheet or curtains could work too. You will also need clips to keep the backdrop on the frame (if not curtains with a pocket sewn in for the rod).
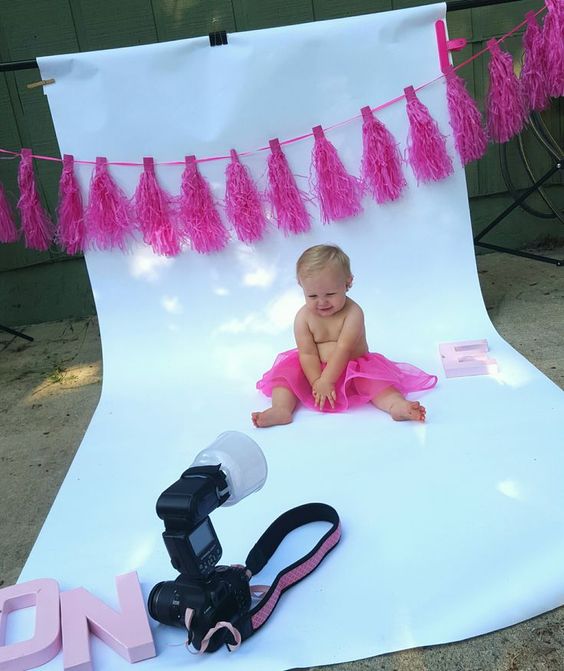
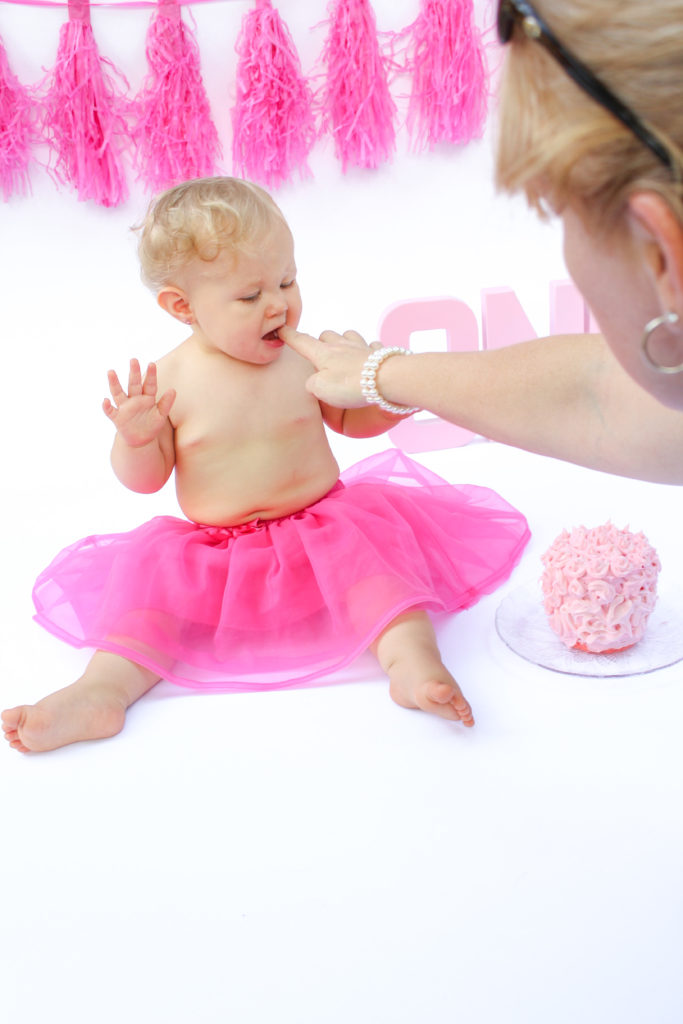
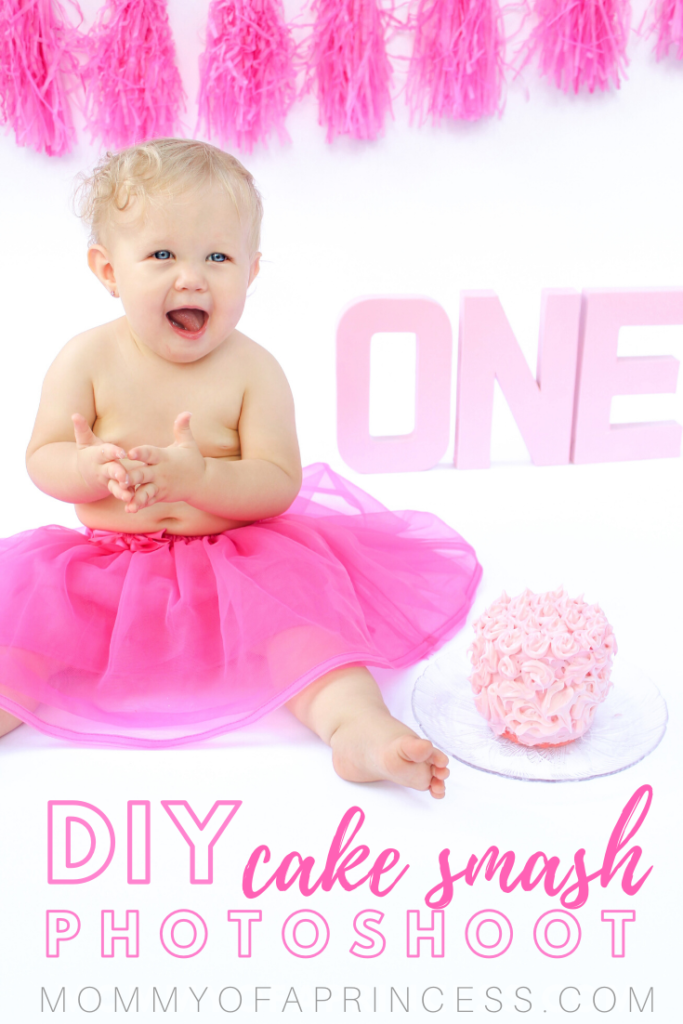
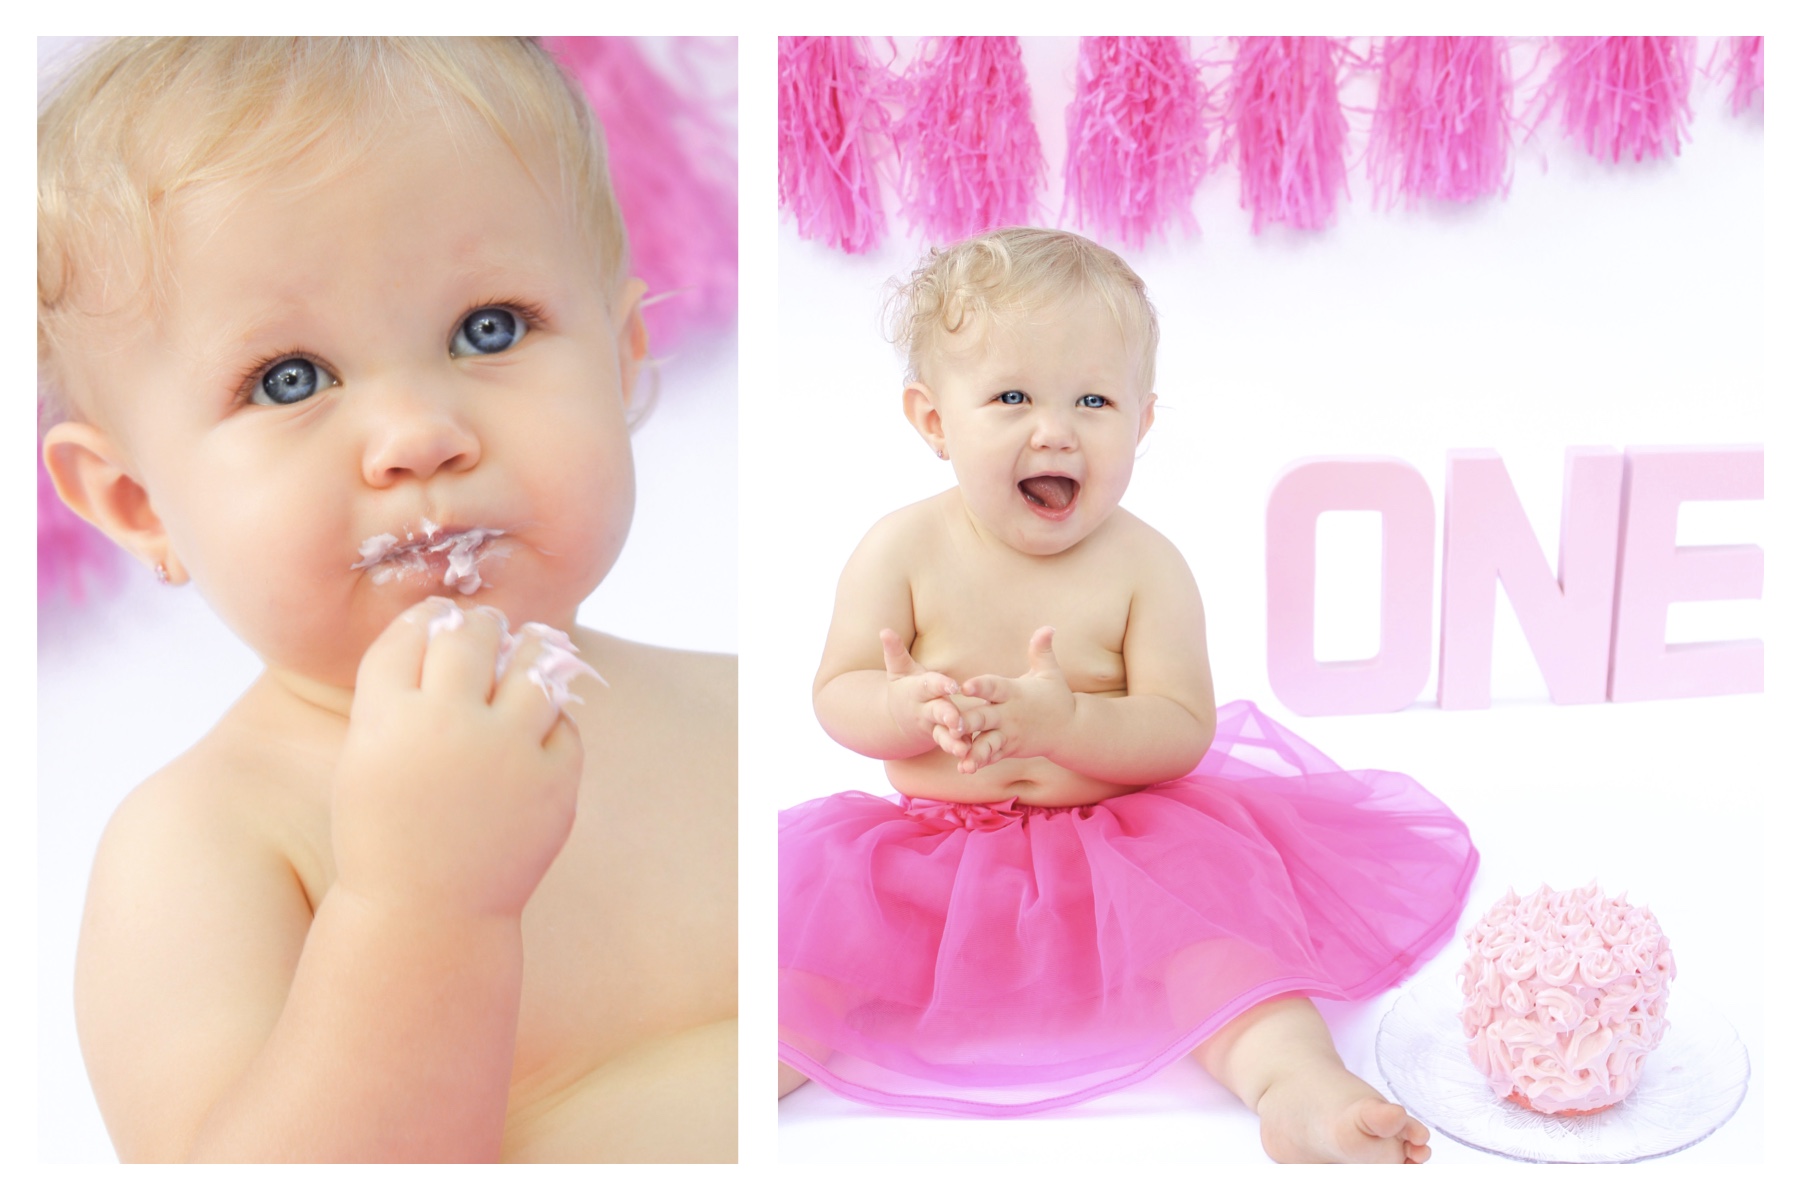
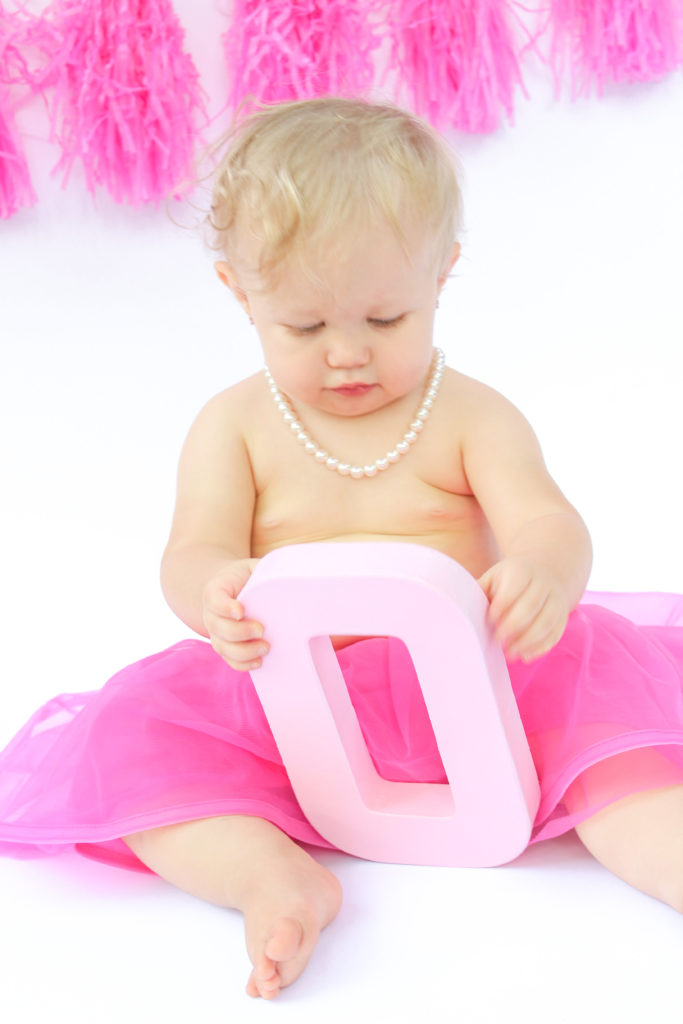
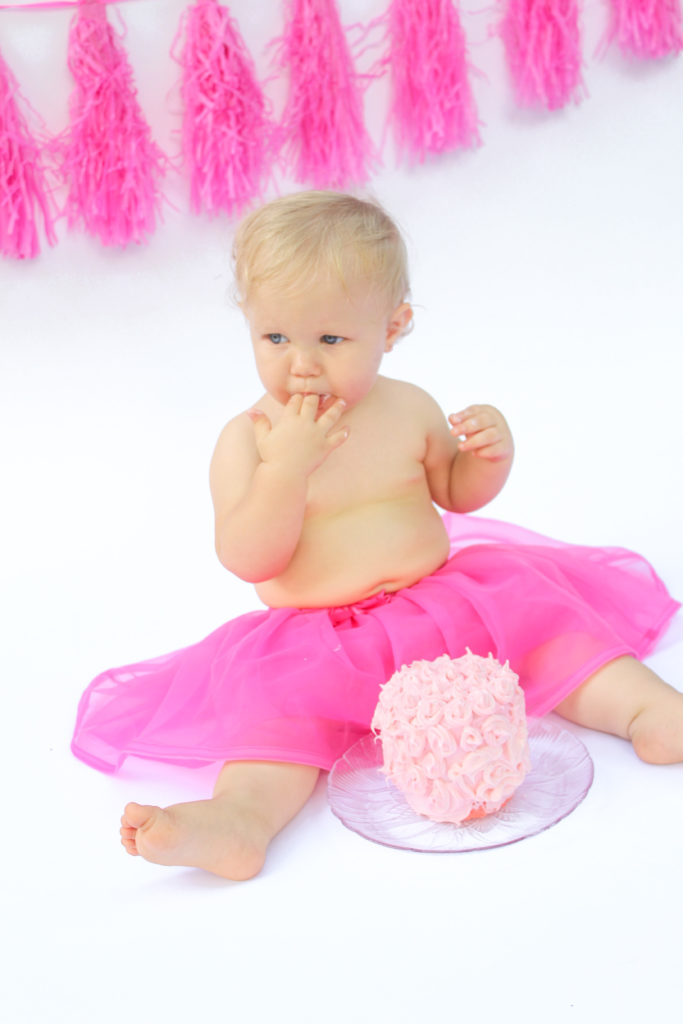
Next, you should gather any props you may want to use. I found this pink tassel tissue garland at Party City, but the Dollar Tree typically has some in various colors too. The O-N-E is from Hobby Lobby. The Paper Studio brand paper machete letters go on sale for 30% every couple weeks. I spray painted them pink for the DIY cake smash photoshoot, but repainted them to match her Alice in Wonderland First Birthday party as decor too.
DIY First Birthday Cake for Cake Smash
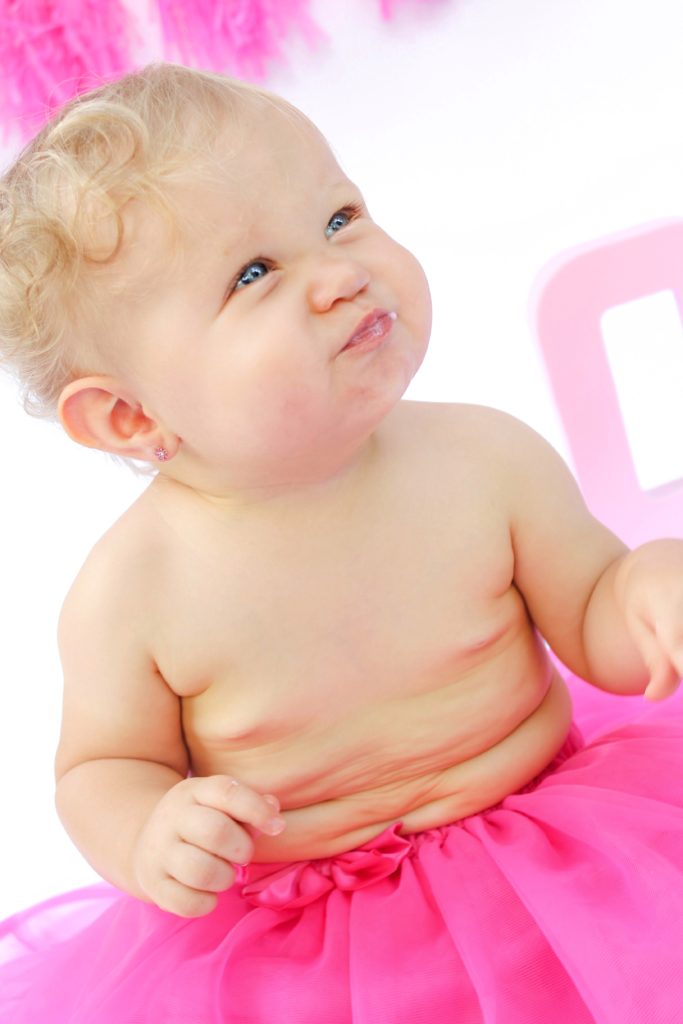
Once you have the theme and backdrop finalized, it’s time to choose the perfect outfit. For my baby girl, I chose a pink tutu and had some pretty long pearls on hand. Choosing an outfit that fits your little one is a fun way to make it memorable for your family.
For our DIY Cake Smash Photoshoot, I baked a ‘mini’ first birthday cake. I used Duncan Hines Perfect Size cake mix (serves 2) and two ceramic soufflé dishes to bake a cute mini baby’s cake that was the perfect size for toddler hands. Of course you can always purchase an adorable cake too from a local bakers too.
Tips for Taking Professional Cake Smash Photos
When it comes to photography, I don’t have fancy equipment. In fact, I have the cheapest DSLR camera available, a Canon Rebel. It all comes down to lighting, camera settings and editing.
First, make sure you find open shade. Lighting is best in the early evening about an hour before the sun sets. Look for an area that is fully shaded and NOT in direct sunlight. This gives you beautiful natural light to work with without any harsh shadows. In the picture below you see little sunspots on the background. We had to wait for the sun to go down a little ways for those to disappear.
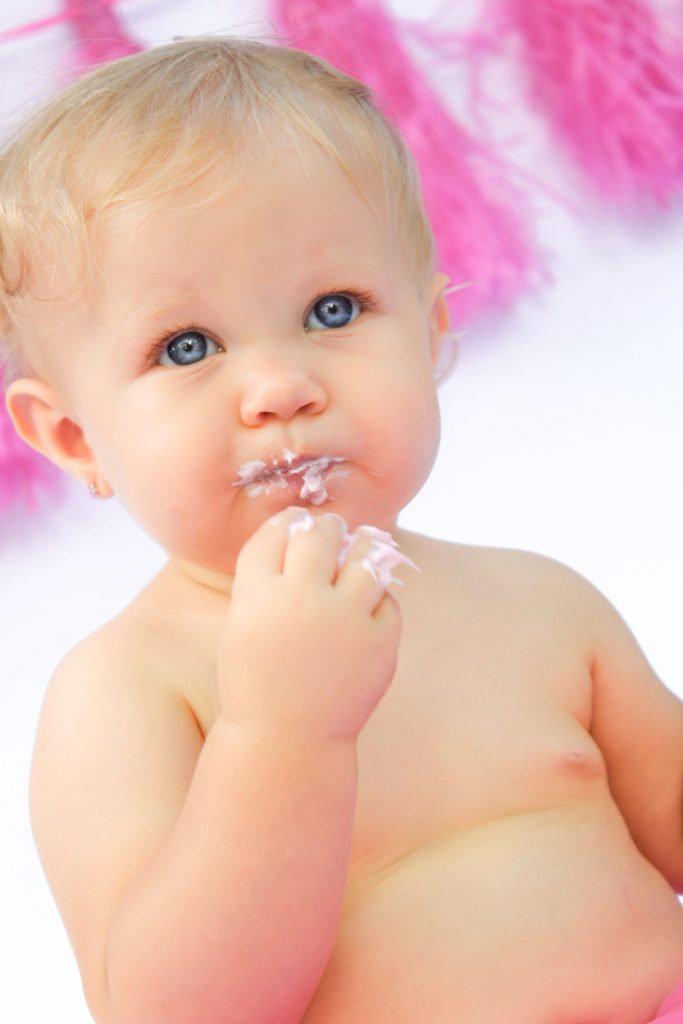
Plan ahead so you’ll have enough time to capture the messy cake smiles while the lighting is good.
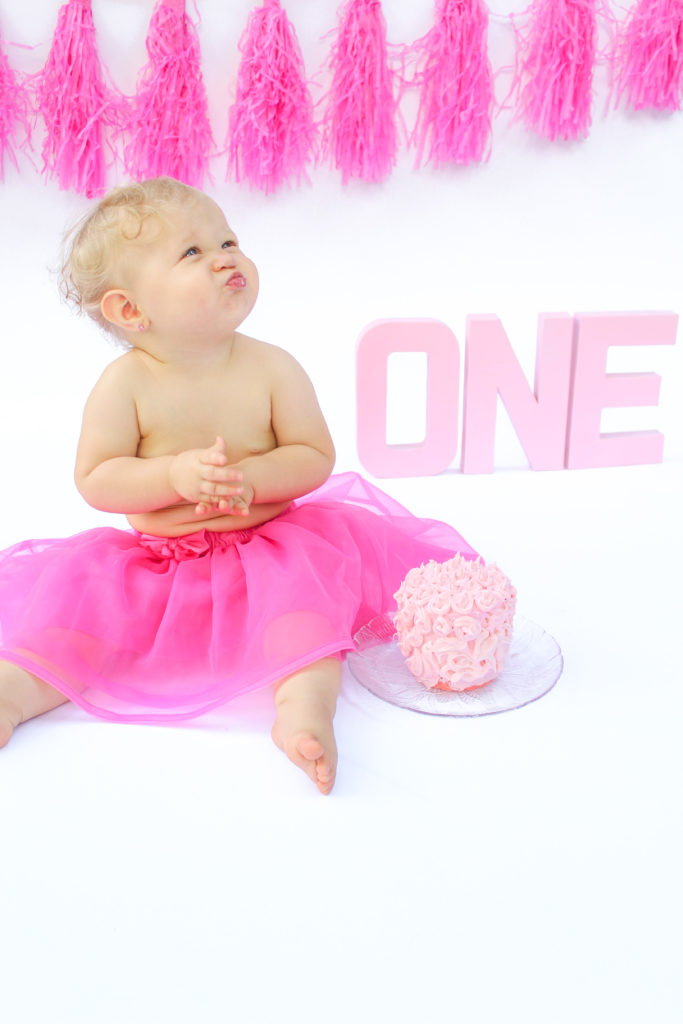
Use manual mode on your camera. Play specifically with the ISO and white balance until you get the look you want. Be sure to take LOTS of photos. I took close to 200 photos and only really loved about 30 of them. I put my camera on continuous shooting mode to capture every little candid moment since toddlers tend to move and change their facial expressions quickly.
Finally, edit the photos from your first birthday photo session for a polished and professional look. I used Lightroom and bumped up the exposure, lessened shadows and increased saturation. I love the app “Snapseed” if you are taking and editing photos on your phone.
One last tip for a DIY cake smash photoshoot, recruit help! It’s hard to take photos and keep track of a mobile baby, plus make faces or noises to try and get a cute smile or laugh. I had a few family members who were able to keep baby on the backdrop and prevent her from crawling away.
Really lean into baby’s curiosity. Let them play and explore to capture the best beautiful images of your little one.