

Easy Tissue Paper Ice Cream Suncatcher Craft for Kids
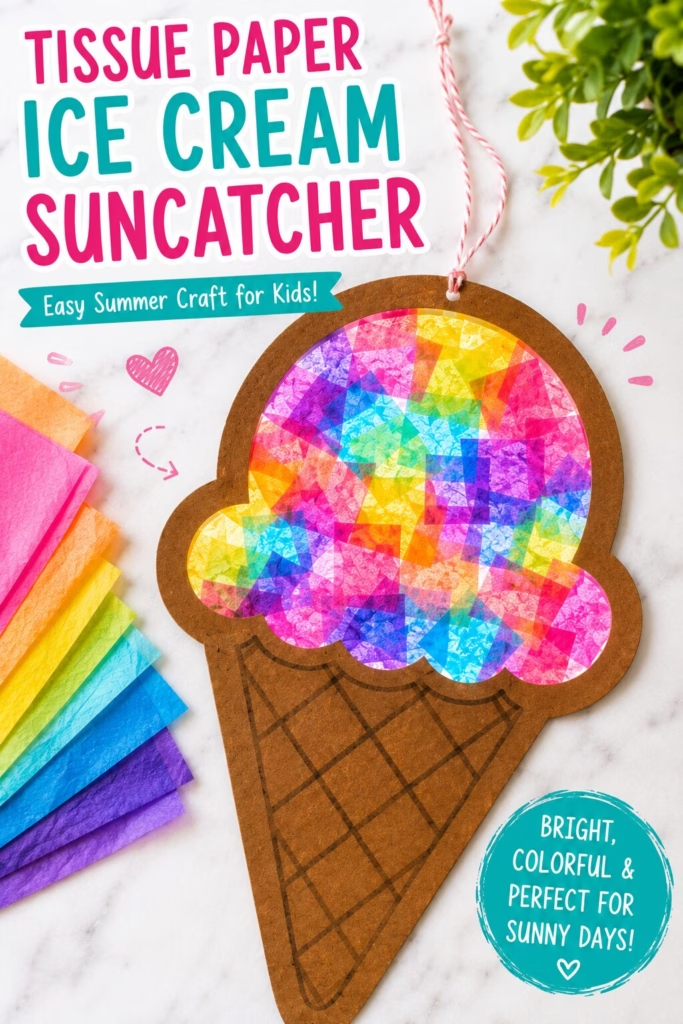
When summer temperatures start rising, it’s always helpful to have a few easy indoor activities ready to keep little hands busy. This Tissue Paper Ice Cream Suncatcher is a bright and cheerful craft that combines colorful creativity with summer fun. Kids will love arranging the tissue paper pieces to create their own pretend ice cream cone while watching the sunlight shine through their finished masterpiece.
Whether you’re planning a homeschool activity, summer camp craft, classroom project, or rainy-day boredom buster, this simple suncatcher is an easy win.
Why Kids Will Love This Craft
- Uses bright, colorful tissue paper
- Looks beautiful hanging in a sunny window
- Easy enough for preschoolers
- Encourages creativity and color exploration
- Helps develop fine motor skills
- Uses inexpensive supplies
- Perfect for summer-themed learning units
- Low-mess and easy to clean up
Supplies Needed
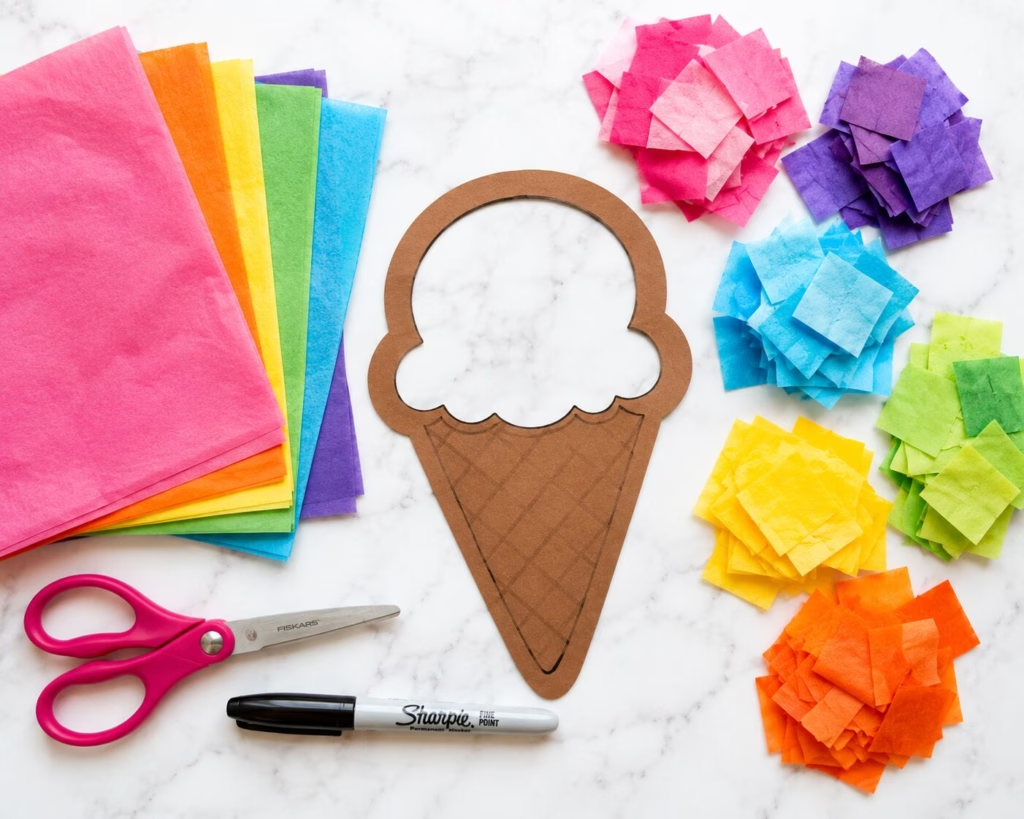
Main Supplies
- Brown cardstock or construction paper
- Clear contact paper
- Assorted tissue paper colors
- Scissors
- Black marker
Optional Supplies
- Glitter tissue paper
- Patterned tissue paper
- Craft gems
- Laminator for extra durability
Budget-Friendly Alternatives
- Brown paper bag for the cone
- Clear packing tape instead of contact paper
- Scrap tissue paper from gift bags
- Dollar Tree tissue paper packs
Prep Information
Age Range: 3–8 years
Difficulty Level: Easy
Prep Time: 10 minutes
Active Crafting Time: 20–30 minutes
Adult Assistance: Moderate for younger children
Mess Level: Low
How to Make a Tissue Paper Ice Cream Suncatcher
Step 1: Create the Ice Cream Template
Draw and cut out an ice cream cone shape from brown cardstock.
Cut out the center of the ice cream scoop section, leaving a cardstock frame around the edge.
This open section will become the colorful suncatcher area.
Step 2: Add Contact Paper
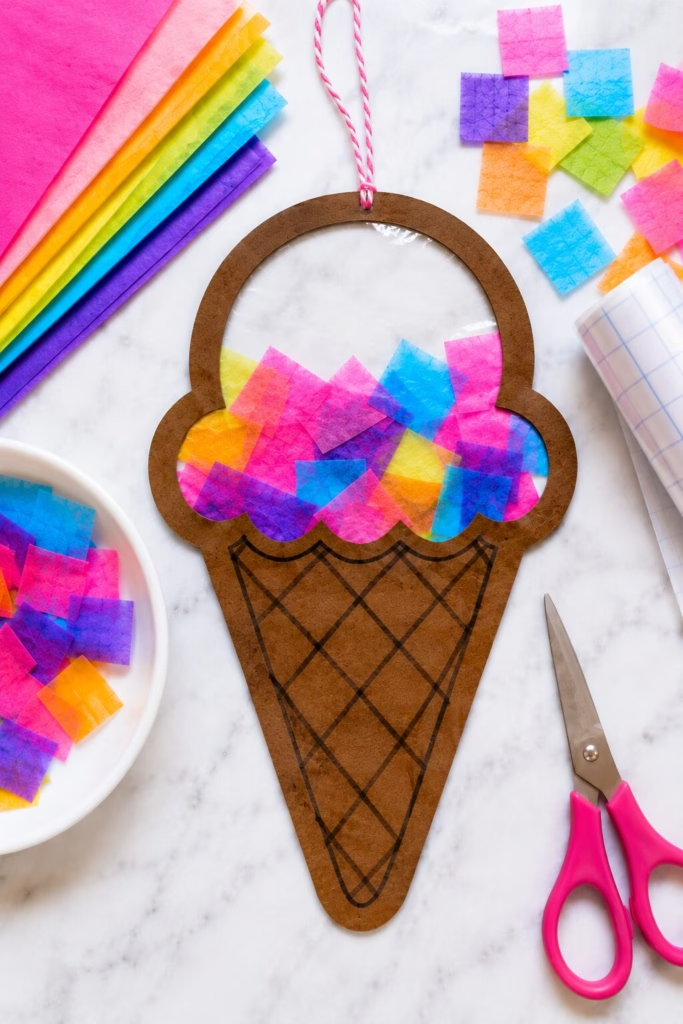
Place a piece of clear contact paper behind the open scoop section.
Press firmly so the sticky side faces upward.
The contact paper will hold the tissue paper pieces in place.
Step 3: Prepare the Tissue Paper
Cut tissue paper into small squares or tear it into colorful pieces.
Use several colors to create a fun ice cream effect.
Pink, blue, yellow, purple, and mint green work especially well for a summer theme, but whatever colors you want will work!
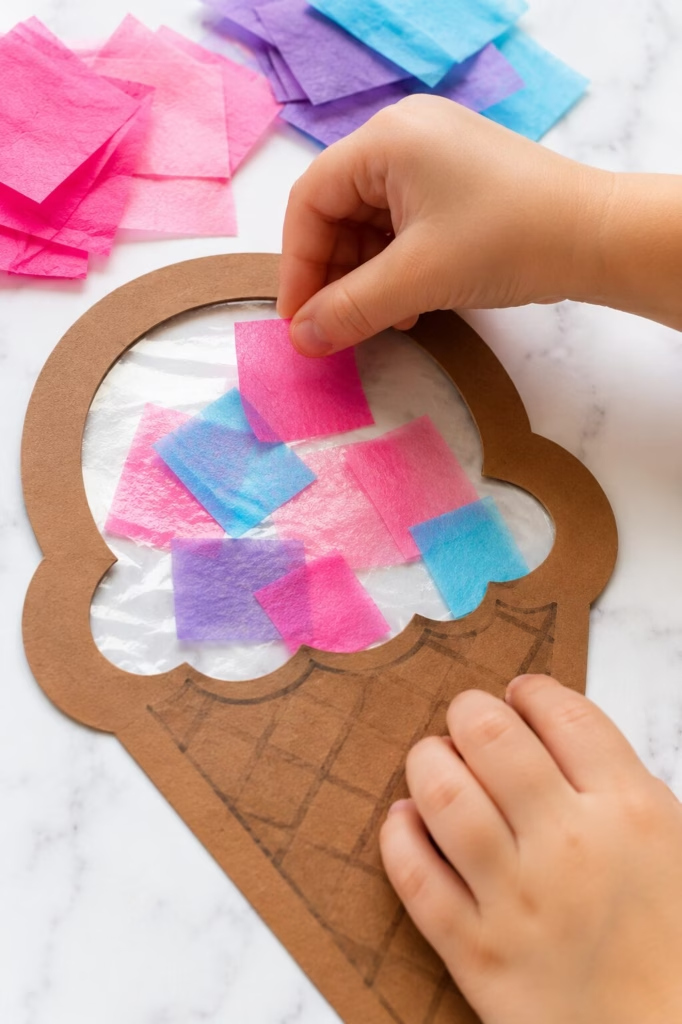
Step 4: Decorate the Ice Cream Scoop
Invite kids to place tissue paper pieces onto the sticky contact paper.
Overlap colors slightly to create a stained-glass effect.
Continue until the entire scoop area is covered.
Step 5: Seal the Suncatcher
Place a second piece of contact paper over the top.
Press gently to seal everything inside.
Smooth out any air bubbles with your hands.
Step 6: Trim and Finish
Trim away any excess contact paper around the edges.
Use a hole punch and string if you’d like to hang the suncatcher.
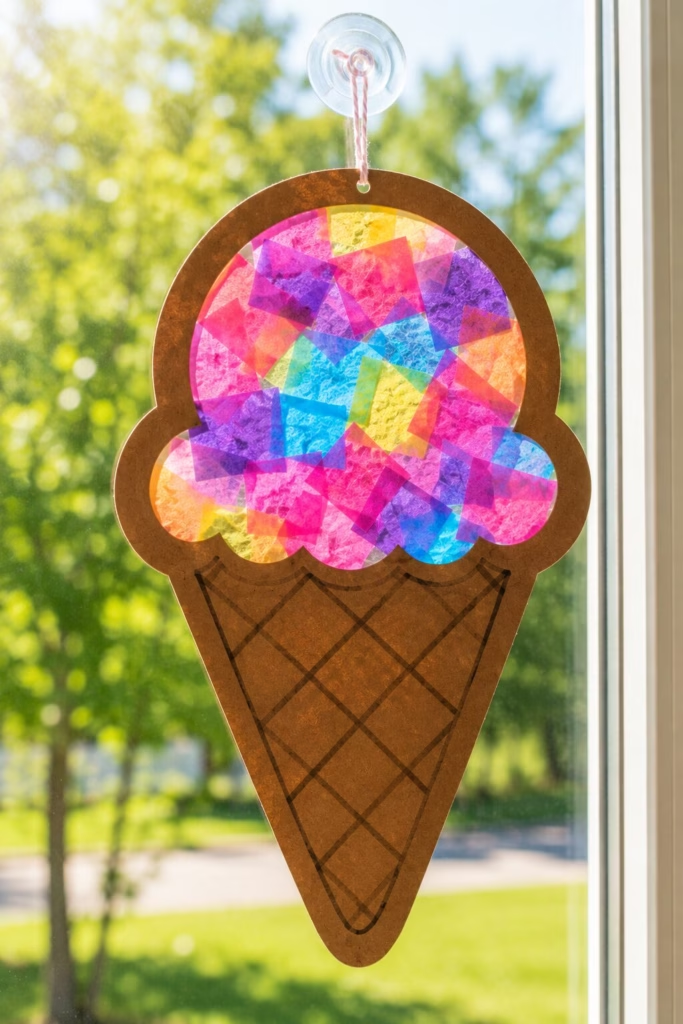
Step 7: Display in a Sunny Window
Hang the finished ice cream suncatcher where sunlight can shine through.
Watch the colorful tissue paper glow throughout the day.
Craft Tips
- Pre-cut tissue paper for younger children.
- Use larger tissue pieces for toddlers.
- Add a popsicle stick handle to create a pretend frozen treat.
- Cover work surfaces with newspaper for easy cleanup.
- Store flat until ready to display.
- Use washable markers to add extra details to the cone.
Fun Variations
Rainbow Ice Cream
Use every color of the rainbow for a bright summer display.
Sprinkle Ice Cream
Add tiny tissue paper dots to resemble sprinkles.
Mickey-Inspired Ice Cream
Create a scoop with two smaller circles attached as ears.
Patriotic Ice Cream
Use red, white, and blue tissue paper.
Watermelon Ice Cream
Use pink, green, and black tissue paper pieces.
Classroom Version
Create a giant bulletin board featuring every student’s ice cream suncatcher.
Creative Ways to Use Your Ice Cream Suncatcher
- Window decorations
- Summer classroom displays
- Ice cream party decorations
- Homeschool art projects
- Daycare summer activities
- Camp craft projects
- Bedroom window decor
- Gift for grandparents
Frequently Asked Questions
What age is this craft best for?
Children ages 3–8 will enjoy this activity with varying levels of assistance.
Can toddlers make this craft?
Yes. Adults can prepare the template and tissue paper pieces ahead of time.
What works instead of contact paper?
Clear packing tape or laminating sheets can be used.
Can I prep this ahead of time?
Absolutely. Cut templates and tissue paper before craft time.
How long does the craft last?
When displayed indoors, it can last for months.
Can I use construction paper instead of cardstock?
Yes, although cardstock provides more durability.
Like this post? Be sure to check out more from Mommy of a Princess, where I share birthday party ideas, Disney tips, family travel inspiration, seasonal activities, printables, and real-life motherhood moments to help make childhood feel a little more magical. Whether you’re planning a celebration, searching for things to do with your kids, getting ready for a family vacation, or simply looking for relatable mom life content, you’ll find plenty of fun, practical ideas created for busy families making memories together.