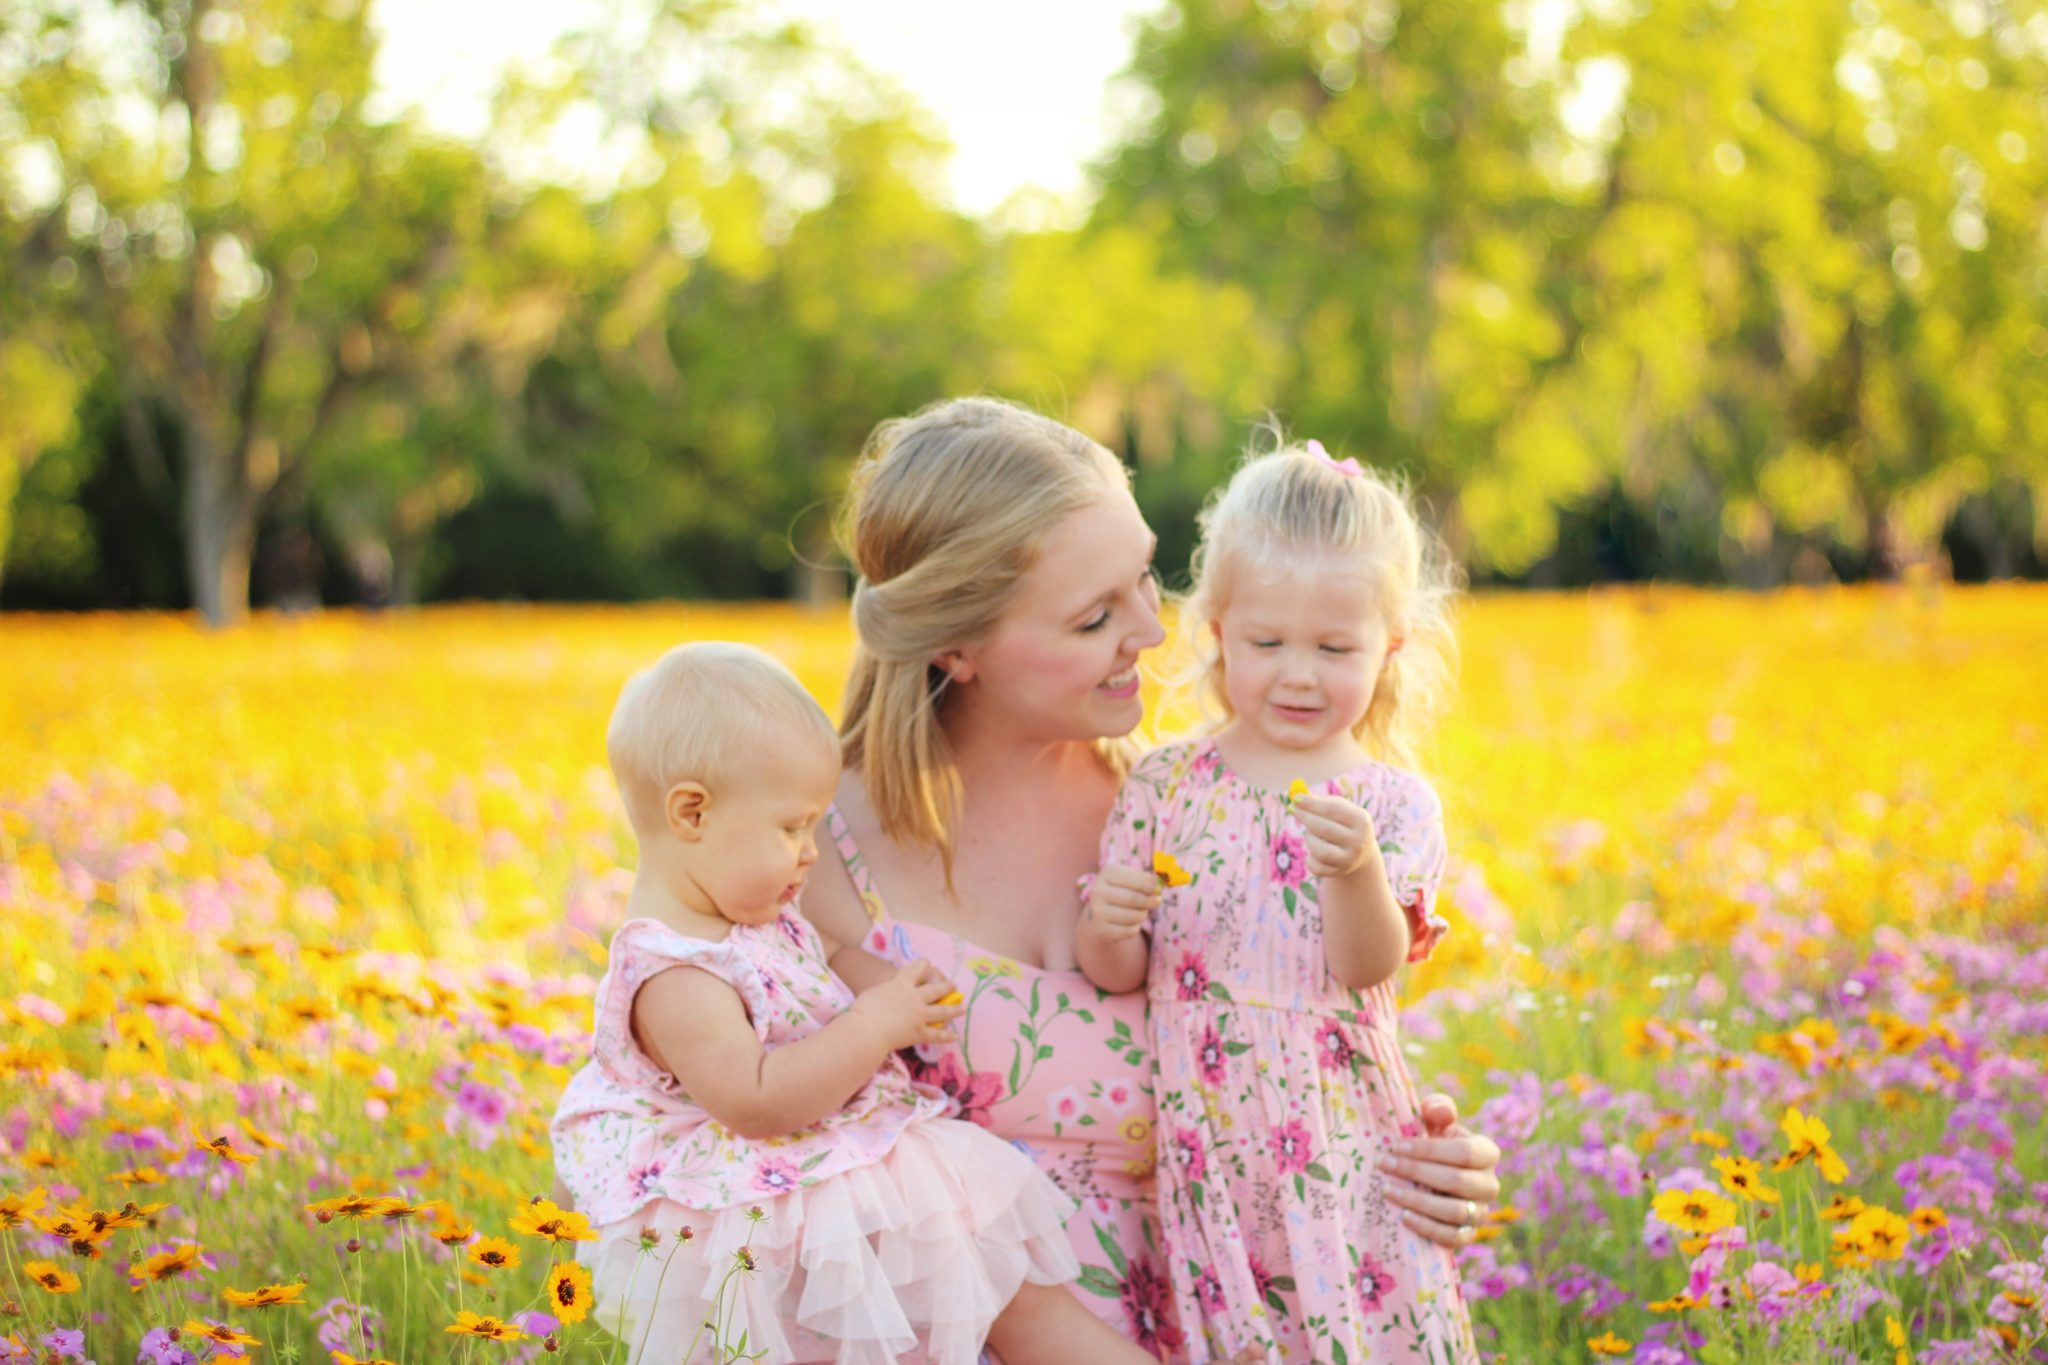
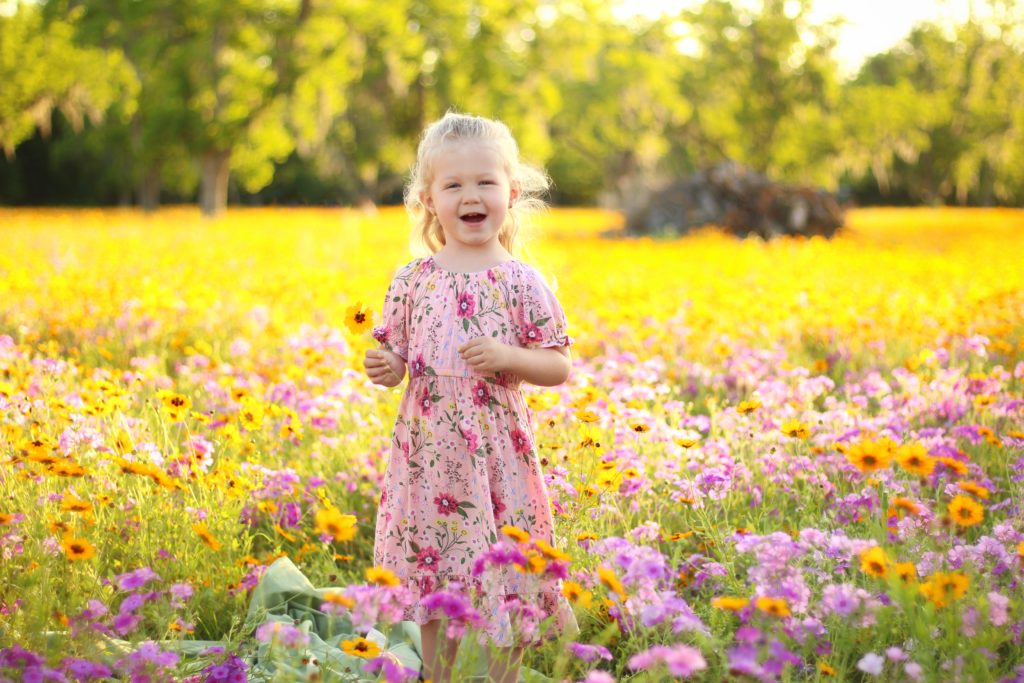
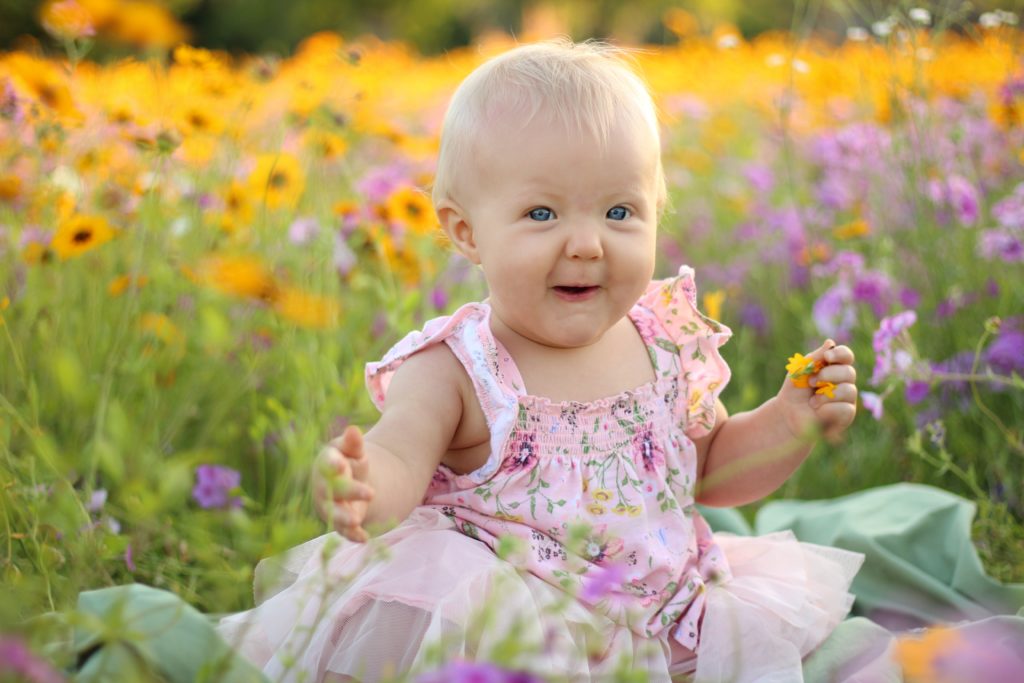
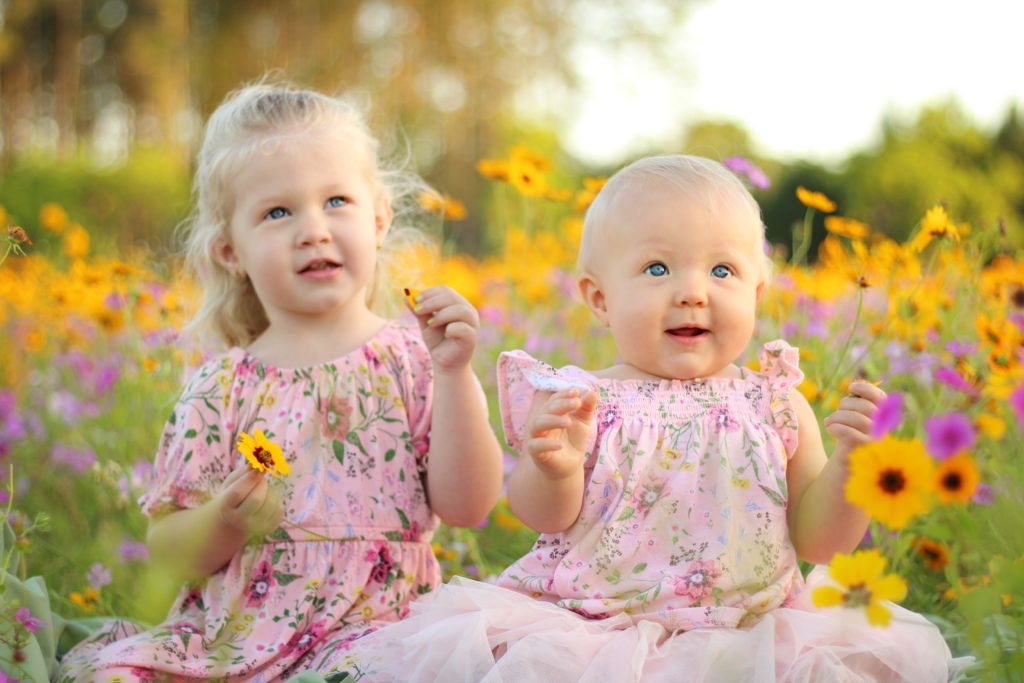
April showers bring May flowers and this local flower field was gorgeous proof of this classic saying. My favorite photographer recently moved away. When I learned about this blossoming flower field, it meant I needed to figure out a different way to capture pictures of my little princesses. Here are my favorite tips for DIY family photos. This post contains commissioned links.
Location & Timing
When taking pictures, location is everything. You want to choose a place that is comfortable for your family, easy to take pictures at and visually pleasing. This flower field was a short walk and provide lots of space. The other important decision is timing. The best time of day for lighting is during the ‘Golden Hour’ typically one hour before sunset. This time provides beautiful natural light without being too harsh and causing lots of shadows.
Equipment
My camera is by no means fancy. It’s a Canon Rebel which is a pretty basic DSLR. I do have an upgraded lens (50 mm). This lens is what makes the background blurry. The secret to getting great photos is using the camera in manual mode. I know this can seem daunting, but it really is pretty easy! Here’s a few tips to help:
- Up the ISO- A good way to remember ISO is “Is the Sun Out”. This setting controls light. The darker the setting, the higher the ISO should be. But be careful with going too high! The image can get grainy if there isn’t enough natural light.
- Drop the F-stop- Also known as aperture. This controls the light and blurriness of the background. I typically set this as low as it will go.
- Shutter speed- I keep this set around 1/200 to prevent the subject from being blurry since little kids are wiggle worms.
- White Balance- This setting will control the tone of your image. While it can be modified via editing later, it’s better to have this set while shooting. Most cameras have pretty straight forward settings (Flash, Cloudy, Shade, Sunlight, etc).
Photographing Kids
Taking pictures of kids can be tricky. I recommend taking lots of pictures! I put my camera into ‘continuous mode’ to allow me to take lots of photos back to back. Usually between two silly faces is a cute smile or candid laugh. Bring something along to grab their attention. Whether it’s a favorite toy, noise maker or something that lights up, anything can help them focus on the camera.
Editing Photos on your Phone
Most pictures aren’t ‘perfect’ right off the camera. Playing with lighting, saturation, vibrance and a few other settings can take a photo from dull and dark to bright and whimsical. I do most of my editing on my iPhone using a few free apps. There’s also a video below showing how I edit as well as ‘before’ and ‘after’ photos.
- Lightroom- The free version of this app has a lot of settings. I particularly love the light and color options. Increasing the exposure, whites and highlights gives photos a bright and beautiful look. The white balance selector tool is also helpful in changing the warmth or coolness of an image based on what mood you’re going for.
- Snapseed- This is Google’s free editing app and it integrates well with Google Photos. I love the selective tool which allows you to pinpoint specific parts of an image and then change the structure, saturation, brightness and contrast. I also use the Portrait tool a lot to increase face brightness, smooth skin and make the eyes pop using the eye clarity setting. Lastly, Snapseed has a Healing tool that can completely remove things from an image. Check out the video below where I remove random people standing in the background.
- Google Photos- This isn’t an editing app, but rather just a photo app in general .I use Google Photos to back up all of the pictures from my phone and camera. It gives me peace of mind and keeps my phone storage free. This app also makes it easy to share photos to multiple platforms.
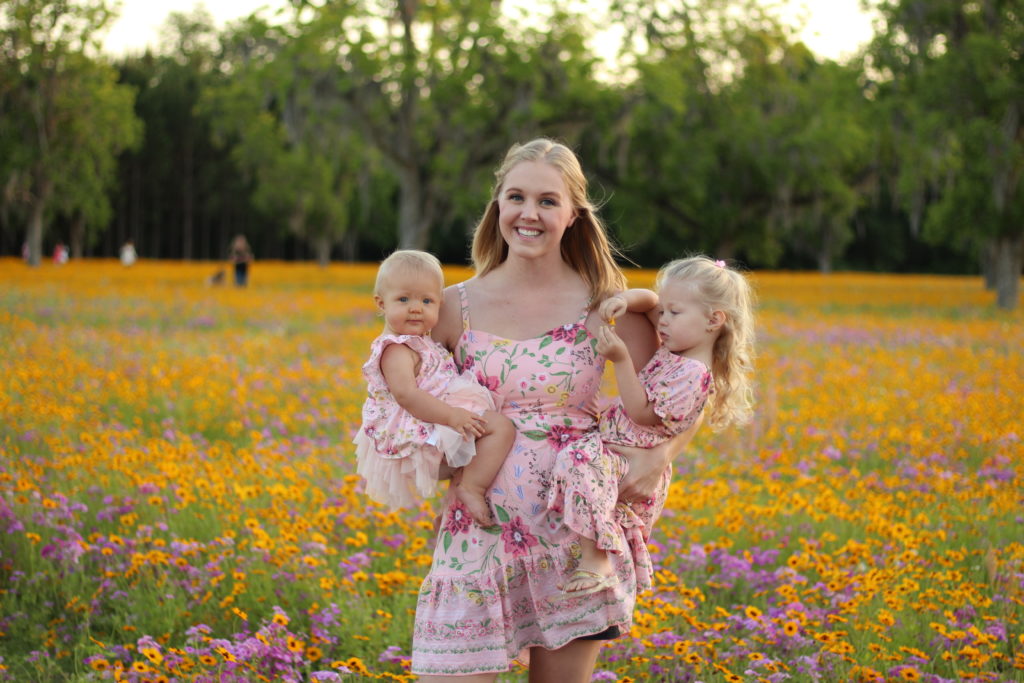
Before Editing (Straight off the Camera)
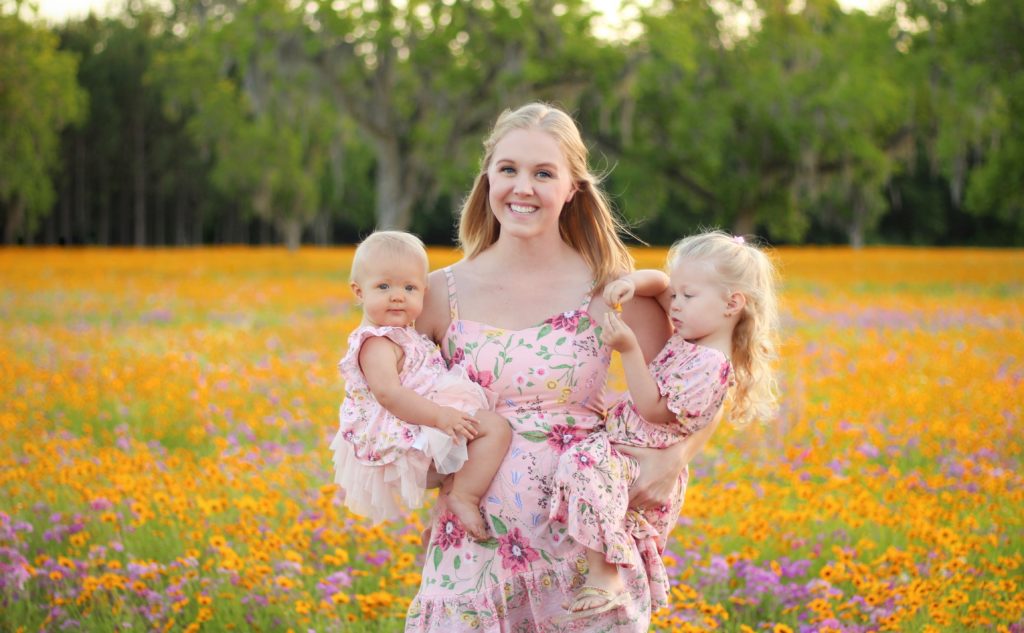
Edited with Lightroom and Snapseed

